Help Centre
Support > Designing and Building Your Website > The Create Manual
The Create Manual: Part 4 - Setting up your Shop
In this section of the manual, we will be covering how to add products to your shop. If you are on our Website Builder package, you can skip this section as it does not feature Shop functionality.
This guide will cover the following topics:
This is a good place to start, we recommend setting up your categories to begin with. This will help organise your products into specific groups and makes for an easier shopping experience for customers.
To add a category you will need to go to your “Shop” area on the Top Menu and click the “Add Category” button. You can then add some introductory/description text for your category page. There are 2 boxes, one that will display the text before the categories and one for after the categories. There is also an option to add a category image, tick this box to lead onto uploading an image.
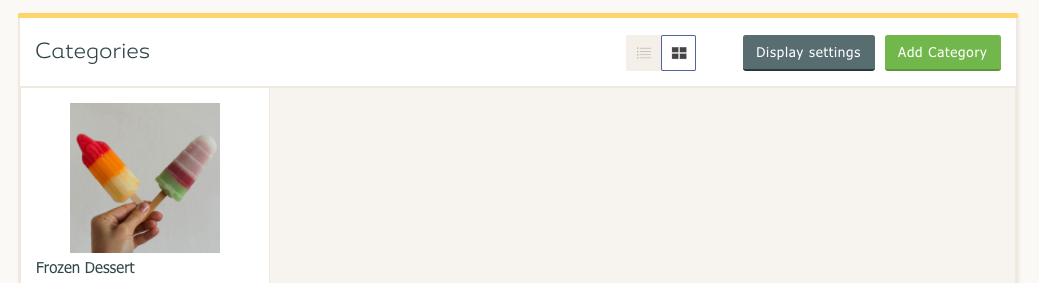
The ‘Frozen Dessert’ category is their by default/example and can be deleted.
You can also add subcategories to your shop, which is perfect for those with a lot of products and would like to break-down a category in smaller subcategories.
For example “Accessories” > “Necklaces” / “Rings” / “Earrings”
To do this you will need to go to your “Shop” area on the Top Menu and click on the category you wish to add a subcategory to. You can then select “Add Sub-Category”.
For more detailed instructions on how to set up your Shop Categories, take a look at our guide 'How do I set up my shop categories?'
Now you have a category setup, you can start adding products relevant to that category.
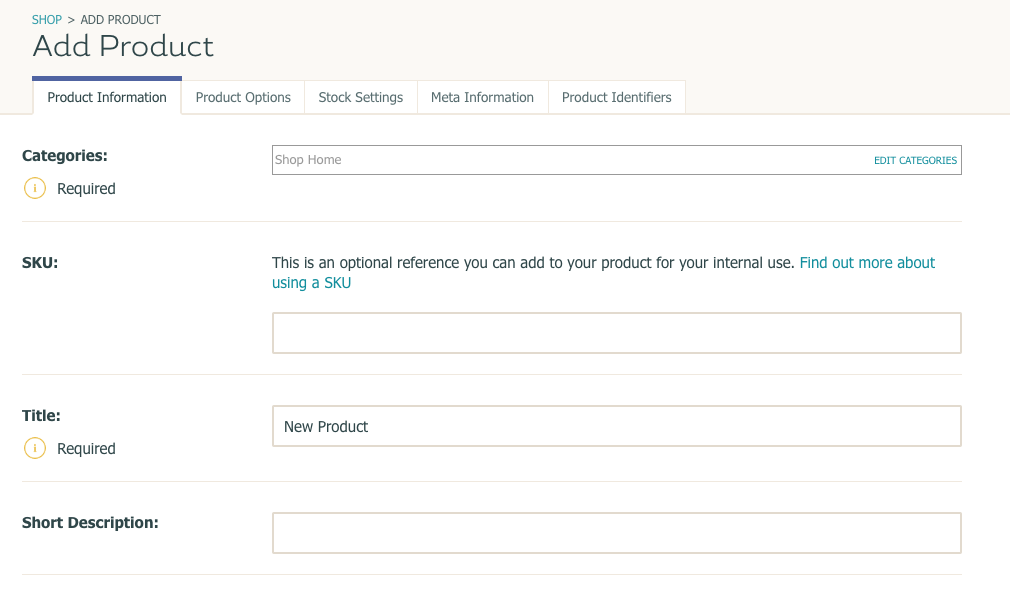
To add a product you will first need to go back to your “Shop” area on the Top Menu. You can then select the category you wish your product to be in and select “Add Product” to get set up. Here you can add a title for your product and essential information such as price and both a short and long product description.
The information that you add here for your products is very important. The product title and description are crucial to your shopper, as this is where they will be looking for all the details about the product they are interested in.
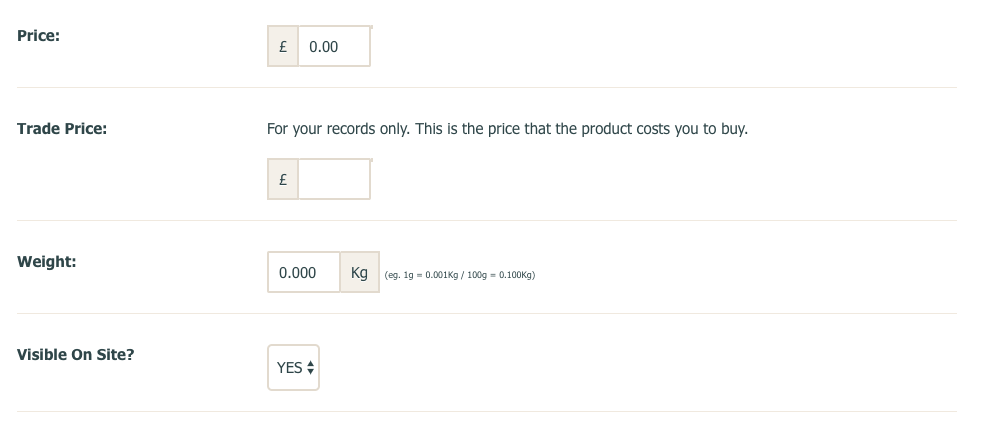
When adding this information, think about what you would like to know about the product if you were purchasing it. Details to consider adding to your Long Description, depending on your product are size, colours, the material it’s made out of and weight.
When adding a product, you can have it appear in multiple categories. Simply clicking on the “Edit Categories” option will allow you to click the checkboxes next to the categories you want the product to appear in.
After adding a product title, descriptions, price and other details Create will then ask if you would like to add a product image. This can be uploaded from your computer. Once added, you will be returned to your Shop screen and the product will be added to the category.
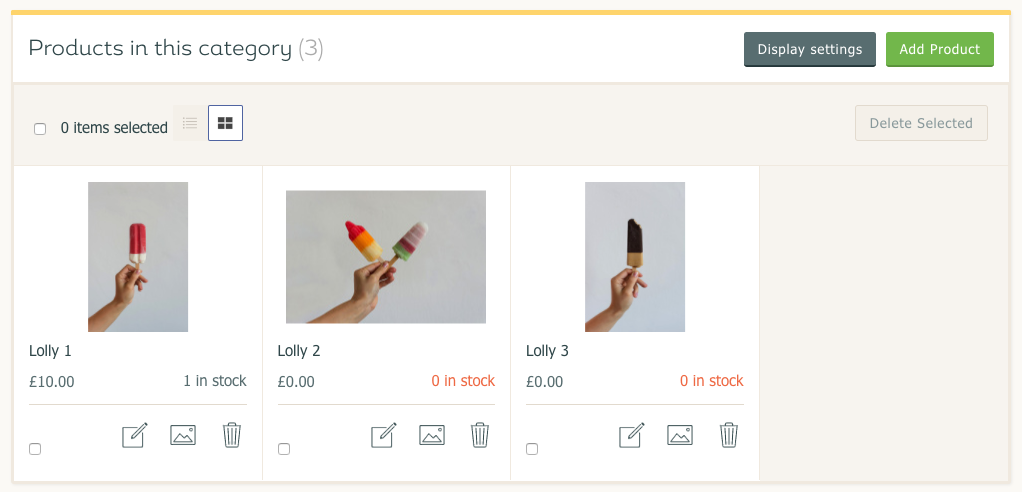
The above products are shown as examples within the ‘Frozen Dessert’ category.
It’s important to set up a payment gateway as this is how customers will pay you for your products/service. The easiest way to start taking payments is with Create Payments, our fully integrated and secure gateway solution in association with WorldPay.
Adding a payment gateway to your shop starts in your “Shop” area, where you can select “Shop Settings” from the left-hand menu where you'll see Create Payments has already been added for you. You can also go to your “Payment Gateways” area and choose your payment gateway provider from the drop-down list. When you then click 'Select' you will be asked to fill in different fields depending on which gateway you chose.

For some payment gateways there will also be a set of instructions at the top of the page which are vital to your setup so do keep an eye out for those. Once you fill in these fields and click “Save Changes” your payment gateway setup is complete and you can receive payments from your customers.
Create offers a wide range of different gateways allowing you to offer flexibility to your customers and how they can pay you. To learn more about the different payment gateways supported by Create, please take a look at the following guide: How to add a payment gateway to your account.
The final stage of setting up your Shop lies within the Postage and Tax settings. These settings determine exactly how much postage your customer will pay at the checkout, and there are many different ways in which you can set this up.
In your “Postage And Tax” settings you can set different zones to have different postage options. This means that, for example, you could set overseas postage to cost more than domestic.
You can find your “Postage and Tax” area by going to your “Shop” area on the Top Menu and selecting “Shop Settings” on the left-hand menu. From here if you go to “Postage and Tax” you will arrive at your postage area. For exact instructions on the different postage options available and how to set up them up I would suggest taking a look at this guide: How to set up your postage zones and types. For this guide, it’s going to focus on adding a standard, fixed rate postage option.
Unless you set up a Delivery Type, all order will be processed for free delivery.
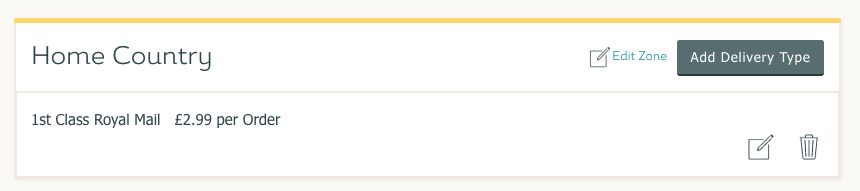
To add a simple postage option such as a fixed 1st Class postage option for your Home Country zone, simply click on ‘Add Delivery Type’.

You will be asked to give your delivery type a name, for example “1st Class Royal Mail”. You will then need to select a charging method, such as ‘Fixed Price Per Order’.
After saving this option, you now need to enter a price for this postage option, for example £2.99

After entering a price and then clicking “Add New Delivery Type
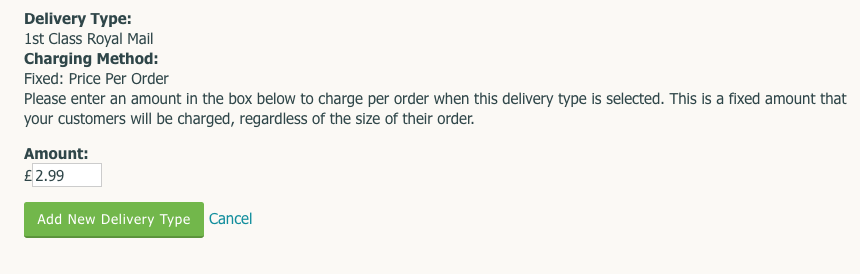
The postage option will now be set up and added to your Home Country zone. You can then repeat the process to add additional delivery options such as 2nd Class, Economy etc.
You will have now set up a category, added a product to a category and set up your postage options.
The Create Manual: Part 5 - Final Touches and Publishing Your Website
Related Articles


More Questions?
If you have any further questions, please get in touch and we will be happy to help.
Get in Touch