Help Centre
Support > Designing and Building Your Website > Adding Your Content
How do I set up a blog?
A blog is a great way to keep your customers in the loop about things you and your business are up to. It gives your company a personality so that customers and potential customers can relate to you more. In addition to this, a blog is fantastic for the SEO (Search Engine Optimisation) of your website, as Google favours regularly-updated content. It is also a great opportunity to get more keywords onto your site!
In this guide we will be looking at the following:
- How to set up your Create blog
- Adding new blog posts
- Adding new blog categories
- Blog Options
- Tips for Bloggers
- Examples of great Create blogs
How to set up your Create blog
The first thing to do is to create your blog page by following these steps:
- Log in to your Create account.
- Go to “Content” from your Top Menu.
- Click the “Add a New Page” button at the top of the left-hand menu on the “Content” screen.
- Select “Blog”.
- Click “Add New Page”.
Your 'blog' page should now appear on your “Content” screen!
Now your blog page is all set up you may want to think about customising the blog to fit with your site. For example, you may want to change the menu text of this blog page and perhaps add a little introduction to your blog. To do this, just follow the below instructions:
- Go to your “Content” screen.
- Select the “Page Options” square icon next to “Blog”.
- Alter the “Page Title”. This is what appears in your content screen (see first screenshot below).
- Edit the “Menu Text”. This is what will appear in your site's menu, representing your blog's name.
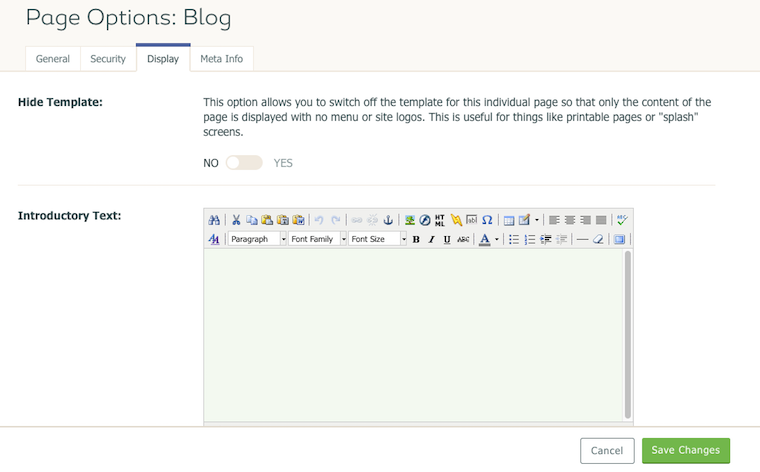
- To add a little bit of introductory text click “Display”, then click within the relevant field (see second screenshot below).

Adding new blog posts
To add a new blog post please follow these steps:
- Go to your “Content” screen.
- Select the Edit icon (it looks like a pencil) next to your blog from your “Content” screen.
- Click “New Blog Post", as displayed below:
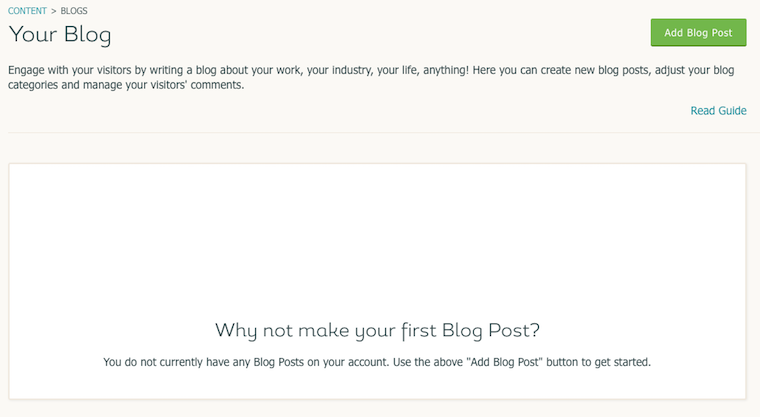
From this screen you can add a new blog post, edit/add categories and select certain blog options.
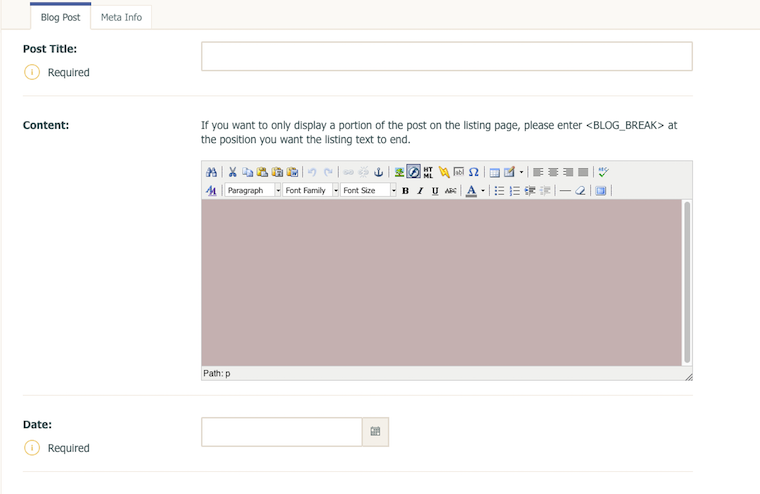
Above is a screenshot of the 'Add/Edit Blog Post' screen.
- Add a “Post Title”.
- Click inside the editing area of what will make up the content of your blog post. Create the body of your blog post here.
- Next, date your blog post by selecting a date using the drop-down lists. This is a really handy feature as you can always set blogs up to be automatically published in the future by setting a future date.
- Select a category for your blog post. (See below to learn more about blog categories)
- Publish your blog post by clicking the yellow "Publish Blog Post" button.
Adding new blog categories
This feature allows you to organise your blog posts. They will display on the right hand side of your screen in a list. This is great for your customers to navigate their way to content-specific blog posts that they are interested in knowing more about.
To add a new blog category, follow the below steps:
- Go to your “Content” screen.
- Select the "Edit" icon (the one which looks like a pencil) next to your blog from your “Content” screen.
- Click “New Blog Category” in the left-hand menu.
- Enter a category name.
- Click “Add Blog Category” at the bottom right of your screen.
- Your new category will then appear.
You may then go about allocating certain blog posts to their relevant categories. To add an existing blog to a category please follow these steps:
- Go to your “Content” screen on the Top Menu.
- Select “Edit” next to your blog page.
- Click the “Edit” pencil icon next to your blog post (see screenshot below)
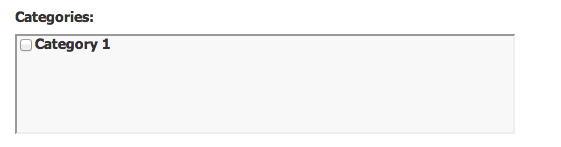
- Under the “Categories” heading, tick which category you would like your post to be in (see screenshot below).
- Click “Save Changes”.
Blog Options
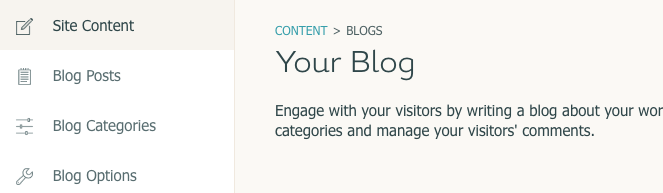
Here you can adjust a few settings relating to your blog. You can find these options by editing your blog page and selecting the “Blog Options” button.
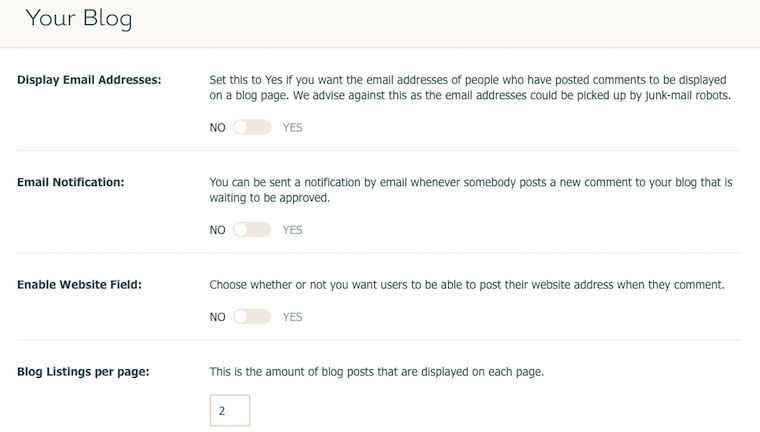
The following options are included:
- Display Email Address
- Set this to “Yes” if you want the email addresses of people who have posted to be displayed on the blog page. However, we advise against this as the email addresses could be picked up by junk-mail robots.
- Email Notification
- You can be sent a notification by email whenever somebody posts a new comment on one of your blog posts. Comments will not appear on your site until you have approved them.
- Enable Website Field
- Choose whether or not you want users to be able to post their website address when they comment.
- Blog Listing Per Page
- This is the amount of blog posts that are displayed on each page of your blog.
- Enable Comments
- Allows users to to post comments on your blog posts.
- Show Date Archive
- Shows the date archive panel, which allows visitors to navigate through your blog posts by month and year.
Related Articles
More Questions?
If you have any further questions, please get in touch and we will be happy to help.
Get in Touch