Help Centre
Support > Designing and Building Your Website > Designing Your Website
How to use the Design Area
The Design area is where you bring your Create website to life using modern design tools to create a unique and professional design. This guide will show you how to access the Design area and how to use all its features.

Getting Started
Step 1
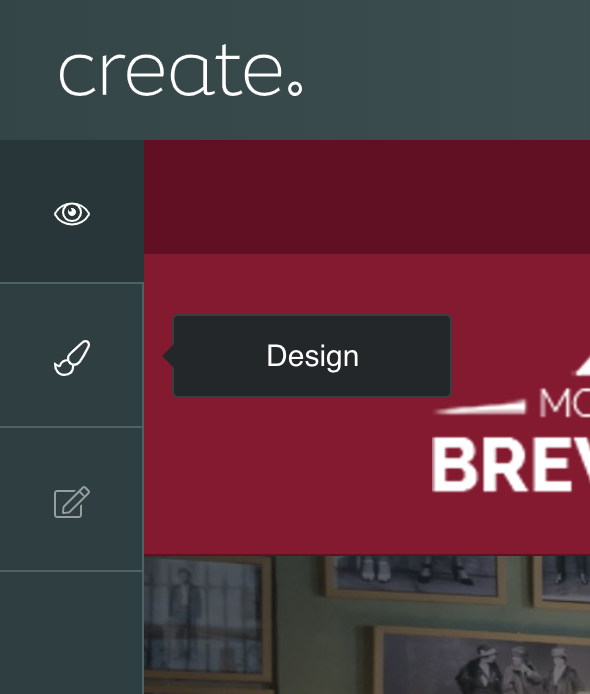
To access the Design area, log in to your Create account and click "Design" on the top menu.
Step 2
Select the Design icon in the Design left-hand menu to open the Design Panel.
Step 3
The Design Panel contains all of the design options that are available to start editing your current design. These are grouped together based on different areas of your website that can be updated.
Templates
Templates are the foundation of your design and there is a large variety of different templates available from which to start creating your own unique look. There are no restrictions on trying different templates before settling on the one that suits your design best. Each template comes loaded with a preset group of options which have been carefully selected by our professional designers.
To change your current template, click the "Change Template" button in the Design Panel.

Select a template in the list to preview it. Once you have made your choice, click "OK" to confirm.
Each Create template has a list of colours that can be changed to fit your brand colours. This list of colours is unique to each template and can be found by clicking the preview list in the Design Panel.
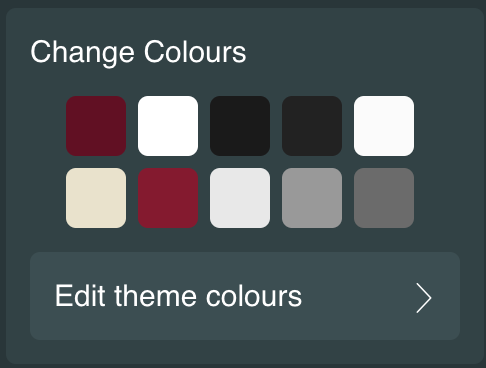
Each colour has its own colour picker which can be opened by clicking the colour preview next to the title of the area you would like to edit. When you select the colour you want, the template preview will refresh so that you can see your updates straightaway.
Once you have made all of your changes, click "Ok" to be returned to the Design Panel.
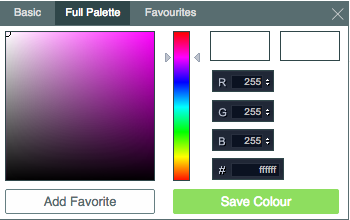 |
Top TipFound a colour that you really like? Save it to your Favourite colours by clicking "Add Favourite" on the Full Palette tab of the colour picker. |
Header and Footer
In this section of the Design area, you can customise the header and footer of your website, including your website name or logo. Your logo is the most identifiable element of your brand. It sits at the top of your website and is visible on every page.
There are two different options for your logo:
Text – Text logos default to your website name as entered in your Site Information.
The design of your logo is then based on the current font you have selected as your "Logo Font". There is more information on this in the Fonts section of this Help Centre Guide.
Image – If you have your own logo which has been designed for you, this can be uploaded to the Design Studio, where it will be automatically added to your website.
You can read full instructions on how to edit your header and footer, including adding a logo, in this help guide.
Fonts
It is important to choose the right font for your website as a great choice not only adds to a professional and modern design but also helps to improve the usability and readability of your website.
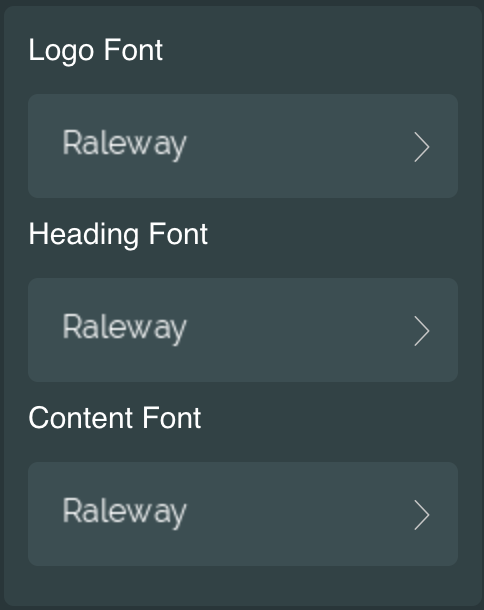
To assist with this important choice, there are 3 different font types available on most Create websites, all of which have a selection of professional curated font choices.
- Logo
- Heading
- Content
Your current selection for each font that is available on your template can be seen in the Design Panel.
To update any of your fonts, click the preview of the one you would like to change. You will be taken to the list of available fonts for this font type. Select the font you would like to use and click "Ok" to confirm.
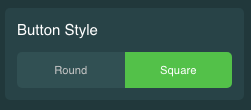
Choose your preferred choice of button style, rounded or square, by using the switch under Button Style. You can also edit the background and text colour of your button in the "Colours" section of the Design Panel.
Buttons
Step 4
This scale allows you to choose the overall size range for your headings, including page titles, side column titles and generally any area that uses the ‘Heading’ font.
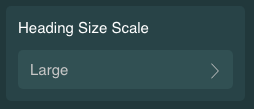
You have the option to set headings to Small, Medium, Large or Extra Large. To change the size, simply click on the “Heading Size Scale” and then select the heading size you’d like to use from the list of options and click "Ok" to confirm.
Step 5
Once you have made all of the changes you would like to make, click 'Save" at the top of the Design Panel to confirm and close.
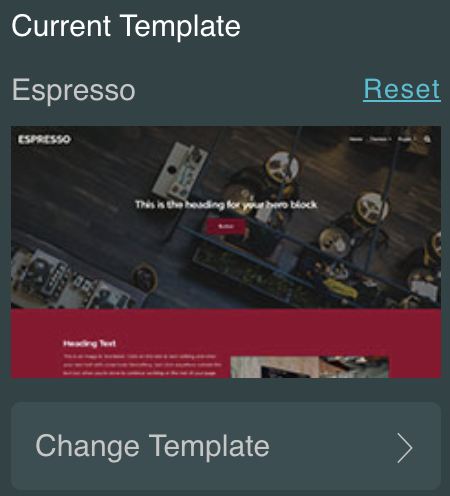 |
Top TipDon't forget that you can always reset a template back to its original state by clicking the "Reset" link at the top of the Design Panel. Please be aware that this will permanently remove all custom changes you have made. |
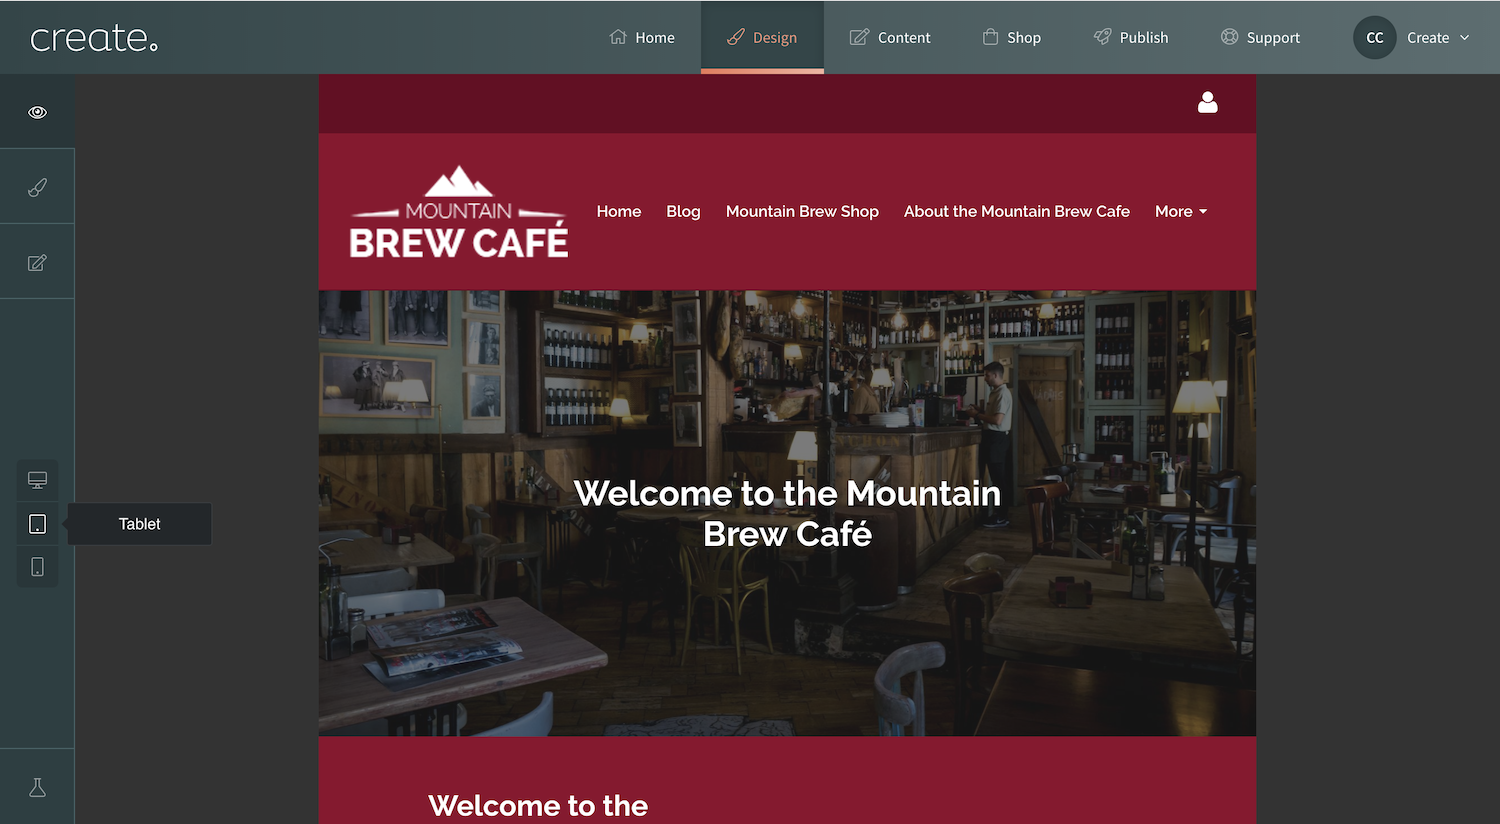
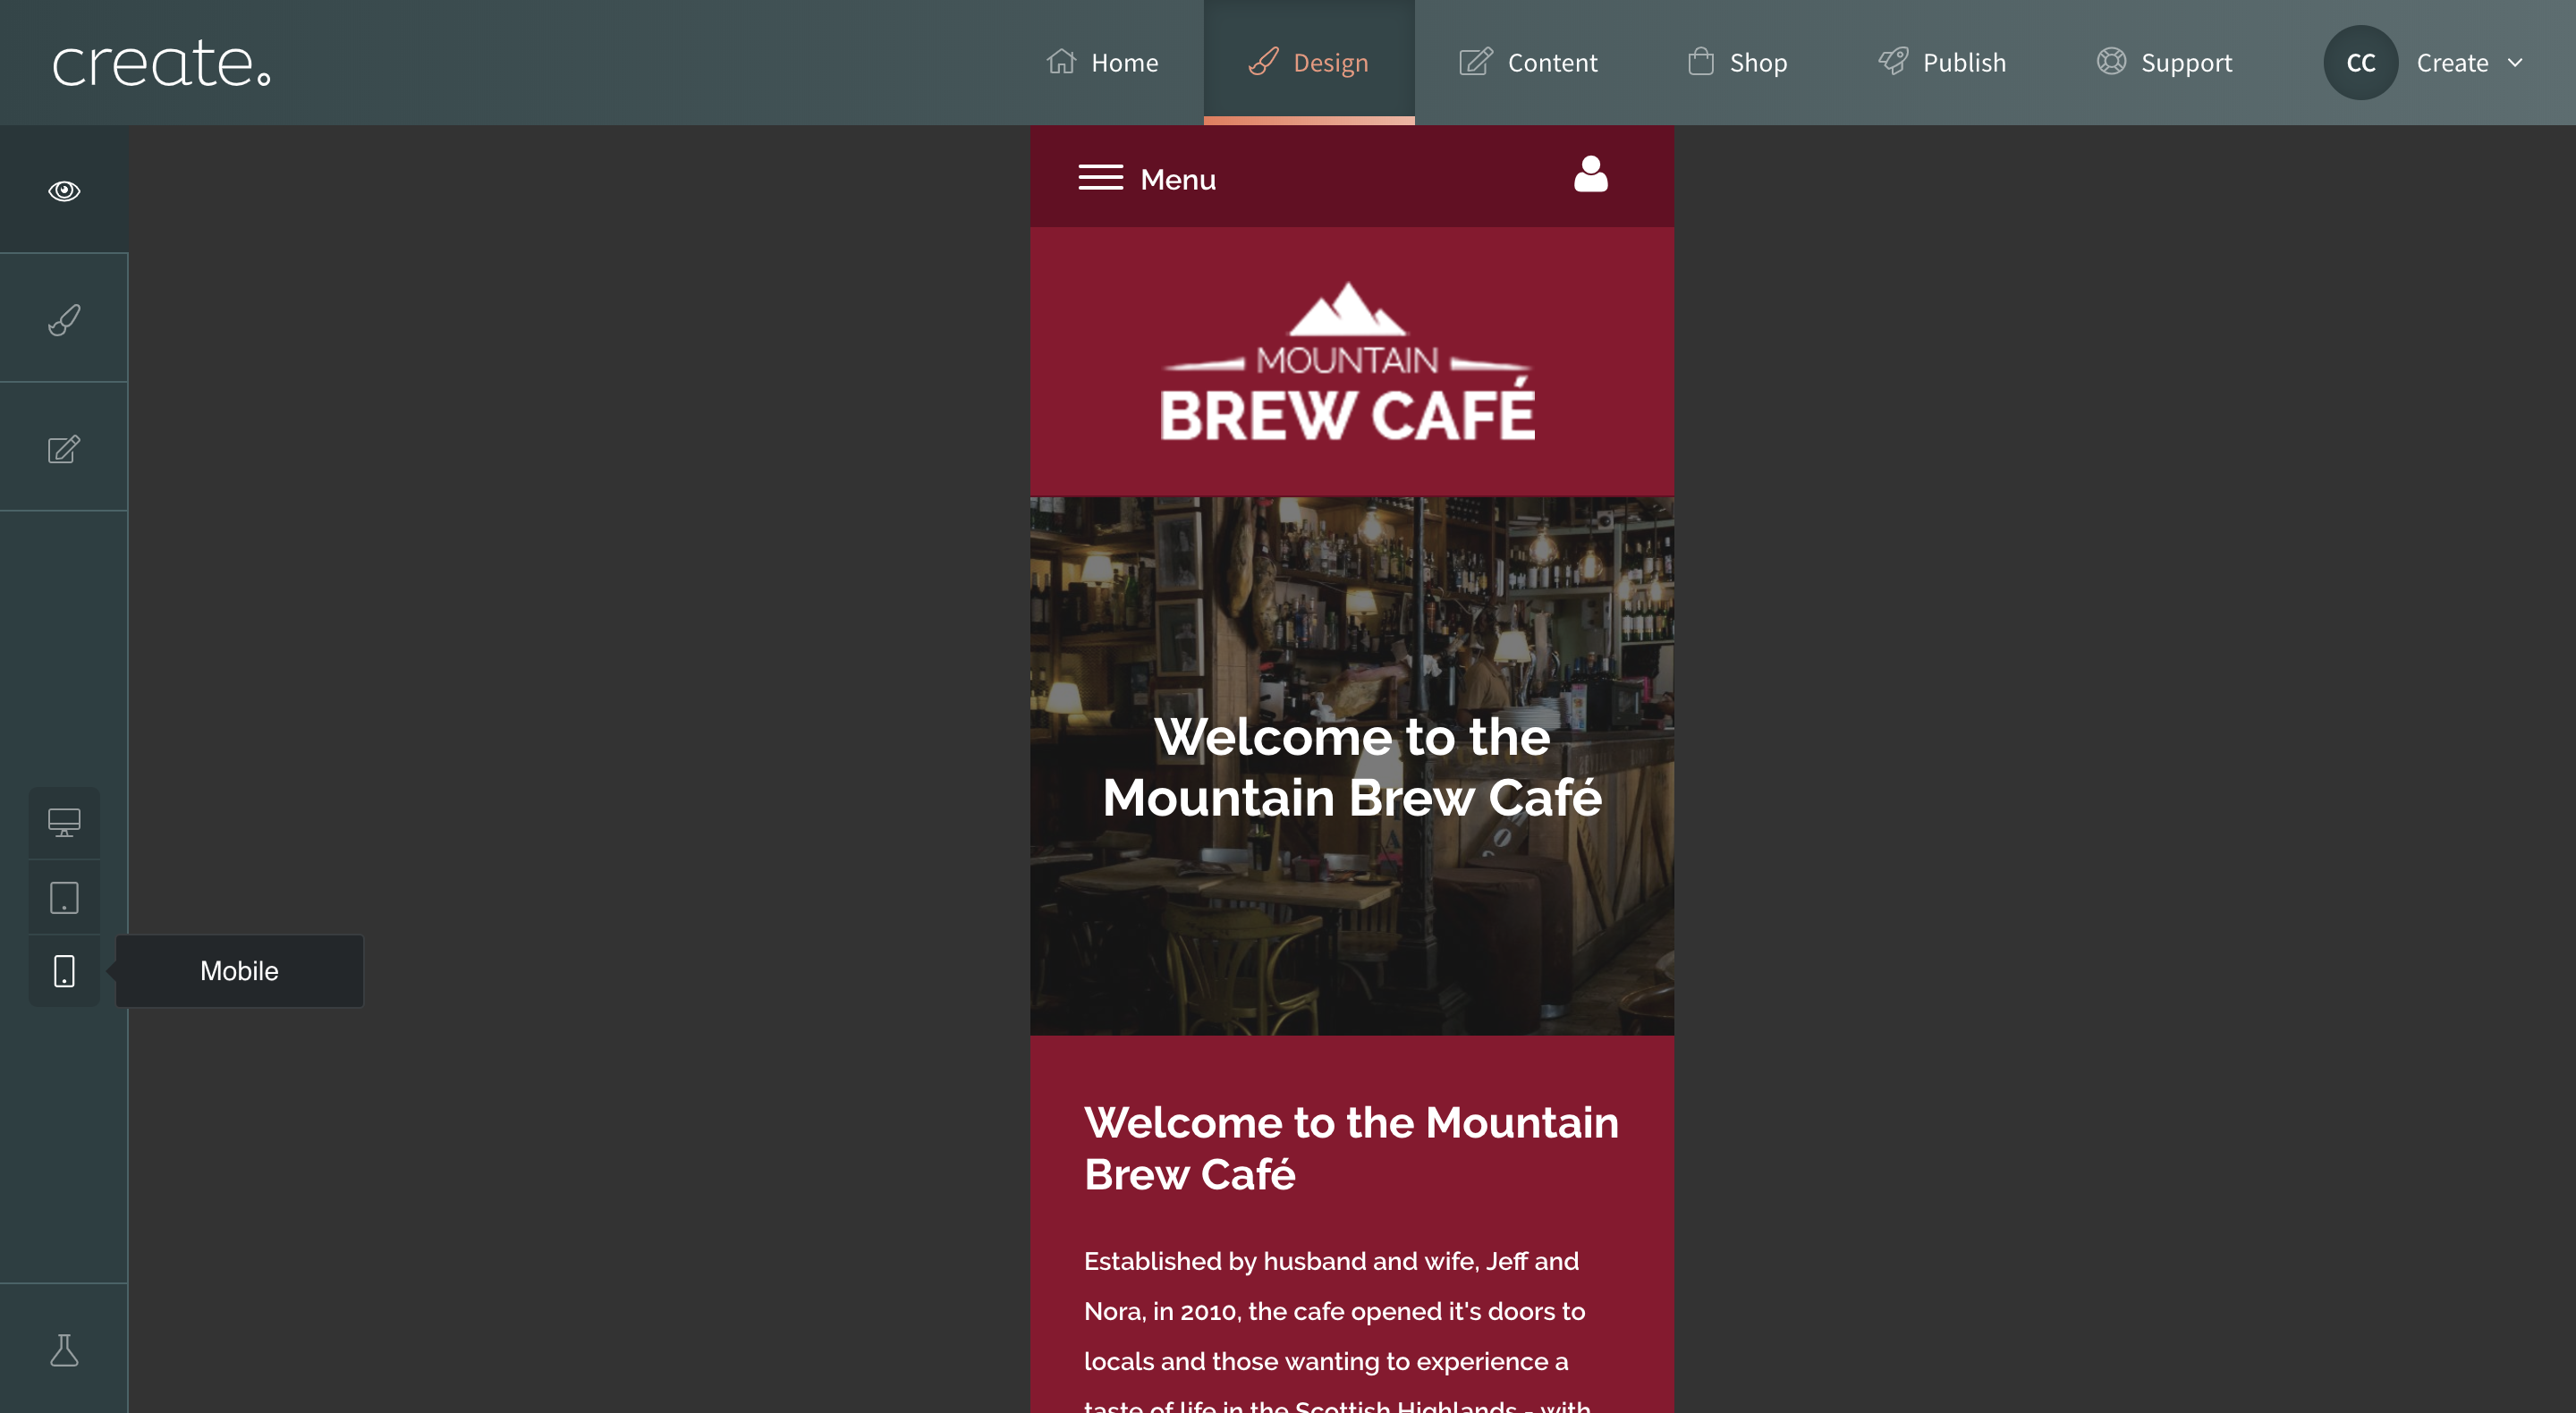
Device Preview
To test how your visitors will view your website on different devices, you can use the device toggles in the main Design Studio menu to change your preview mode to Desktop, Tablet or Mobile. This is a great tool for ensuring that your website visitors are provided with a standardised and professional experience no matter where they access your website from.
Other Tools
The Design Studio also houses some other tools which you can use to update your website. Please read the relevant guide on each one for more information:
Need Help?
Need help designing your website? Let us create the perfect website for you!
See more infoRelated Articles


More Questions?
If you have any further questions, please get in touch and we will be happy to help.
Get in Touch