Help Centre
Support > Designing and Building Your Website > Using the Web Designer's Kit
Using the Web Designer's Kit (WDK) Editor
The Create Web Designer's Kit (WDK) is a fantastic tool that enables web designers with HTML/CSS knowledge to build a custom template that works with Create. If you are not familiar with our WDK, please see our documentation here.
One of the great features of the Web Designer's Kit, is the powerful in-built editor that enabled you to write and your custom template code directly in your Create account.
In this Guide we will be covering the features of the WDK editor and how you can use them.
Please note, this guide is intended for users of the WDK with HTML and CSS knowledge. If you have any questions about a custom built website, or the WDK, please contact us, and we will be happy to help.
Getting Started.
To open the editor to start your WDK template, please follow the steps below:
- Log in to your Create account.
- Click "Design" from the Top Menu.
- Click WDK icon from the Design Menu in the bottom left hand corner. The editor will now load to the right of your Design Studio.
- If you have not yet started a template you can click "Create a WDK Template" to get started. If you have already started a new template, this will be opened when you click the "WDK" button.
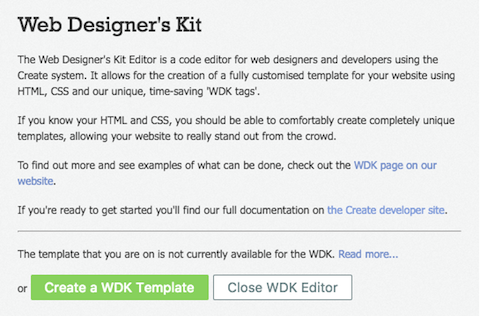
Click "Create a WDK Template" to get started.
Your new template will open in the right-hand box on your 'Design' screen.
We include a basic structure of a template to get you started, but you do not have to use this.
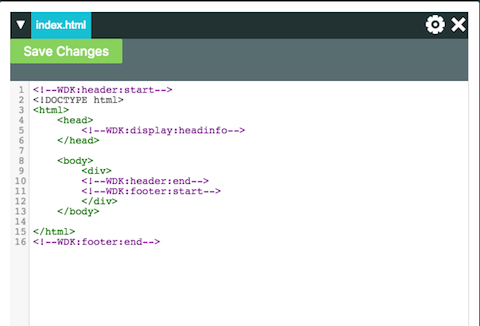
Your new custom template in your Design screen.
Using Files
If you have already written your template, or you want to add some files to link to in your template, you can upload them using the editor.
Using the arrow icon in the top left of the editor you can access and manage the files of your website.
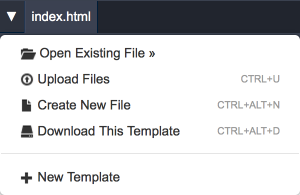
The file managing drop down menu on the WDK editor.
Uploading.
You can browse and upload files by clicking "Upload Files". You can upload multiple files at a time by holding down the "shift key" when choosing them from your computer.
Open Existing.
You can view any editable files (such as CSS and Javascrip files) in a new tab on the editor by choosing "Open Exisiting File >>". Files that are editible will show in black and files that are uneditable will show greyed out as below:
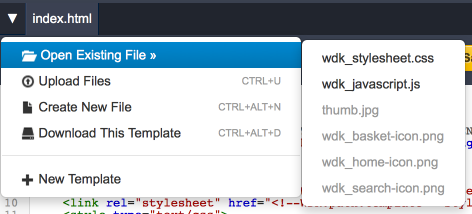
Choosing your file.
Opening a new file will load it in a new tab on the editor, so you can work quickly on multiple files at once.
This is illustrated in the screenshot below:
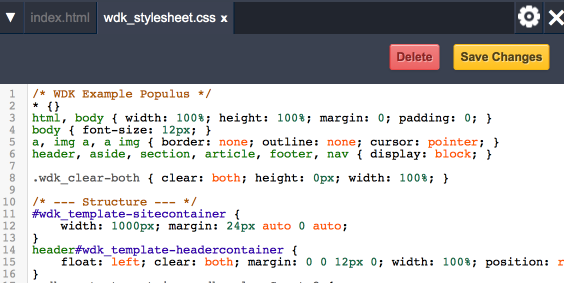
WDK Editor displaying a second file with a new tab.
Create a new file.
If you wish to create a new file such as a stylesheet, click the "Create New File" button. Enter the name for your new file in the "File name..." field then click "Create File". Your new file will then show in a new tab!
Click "Create File" to create a new file.
Download Your Template.
Clicking the "Download This Template" button will prompt a download of your template and all it's associated files to a zip folder on your desktop.
Create a New Template.
You can have as many custom templates on a Create account as you like! To add another one, simply click the "Create New Template" button to get started with a whole new template. Enter the name for your new template in the "Template name..." field then click "Create Template.
![]()
Click "Create Template" to add a new template.
Any templates that your create will appear under the "Custom" section, when clicking "Template" from the Design menu.
Shortcuts.
There are some handy keyboard shortcuts you can use when managing files on your WDK template, and these are as follows:
- CTRL + U To upload a new file.
- CTRL + ALT + N To Create a new file.
- CTRL + ALT + D To download your template.
Customising the WDK Editor.
The WDK Editor has a few great customisations so that you can tailor your editing experience. You can find these by clicking the flower icon in the top right of your Editor screen.
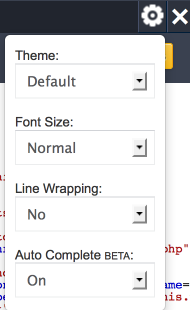
WDK Editor customisations.
Theme
You can change the colour scheme of your syntax, by choosing a theme. There are 16 variations to choose from with both light and dark background. Below are four examples of themes on the WDK Editor.

Font Size
You can choose a small, normal or large font size to apply to your mark up, depending on your preference.
Line Wrapping
The WDK Editor can be dragged wider across your page, so that you can see your longer lines of code. You can also scroll horizontally. However, if you prefer, you can switch on "Line Wrapping" which will enable your longer lines to continue onto a new row, so that all of your work is viewable in the current size of your Editor window.
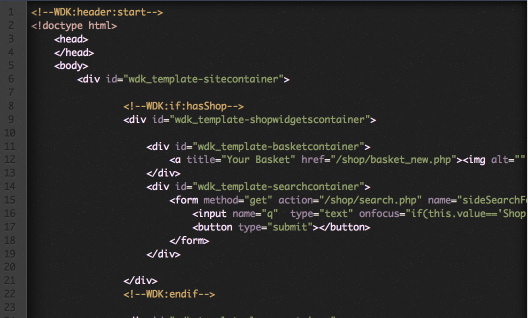
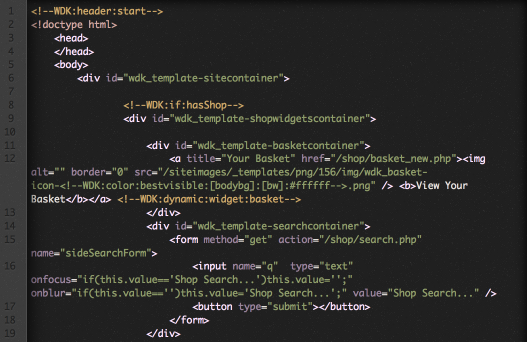
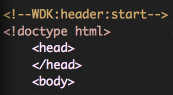
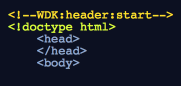
WDK Editor without line wrapping. WDK Editor with line wrapping.
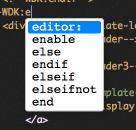
Auto Complete
Finally, we now have a great new Auto Complete in beta testing for WDK tags. This will recognise when you start tying a WDK tag, and predict what you want to enter. This is great as it helps you quickly and accurately insert WDK tags in to your mark up. As this feature is still being tested, please do let us know if you run into any problems!
Related Articles


More Questions?
If you have any further questions, please get in touch and we will be happy to help.
Get in Touch