Help Centre
Support > Ecommerce > Categories and Products
Adding Your First Shop Category
Shop Categories can be a very useful addition to your shop. They simplify navigation through your online store, especially if you are going to display a large number of products.
Adding a category to your Create shop is a quick and easy process, just follow the steps below:
1. Select Shop from the top menu and scroll down to the Categories section.
2. Click the Add Category button.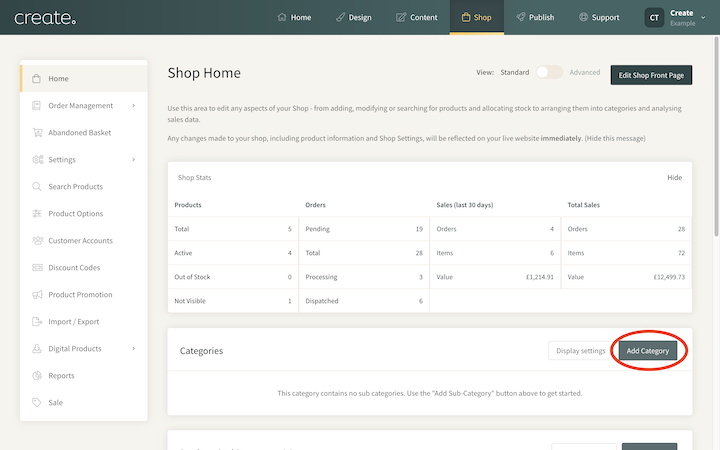
3. You will be asked to enter a category title. You can also add additional text (further details about the category) to the two textboxes or leave them blank.
4. If you would like to add an image to the category, tick the Upload a Category Image option
5. Click Add Category
6. Next you can add additional details as well as upload a category image from your computer.
7. Click Save Changes to create the new category. You will then be taken into the category itself.
From here you can start adding products to this category or you can navigate back to the Shop area of your account and add additional categories.
How To Add Sub-Categories
There might be occasions where you wish to have sub-categories within an existing category. With Create you can easily set this up in your existing categories.
To set up a sub-category, you first need to click on the main category you want to add a sub-category to and then click the Add Sub-Category button.
You will be asked to add the specific details of that sub-category in the same way you do for a normal category.
Once set up, you can then begin adding products to the sub-category directly.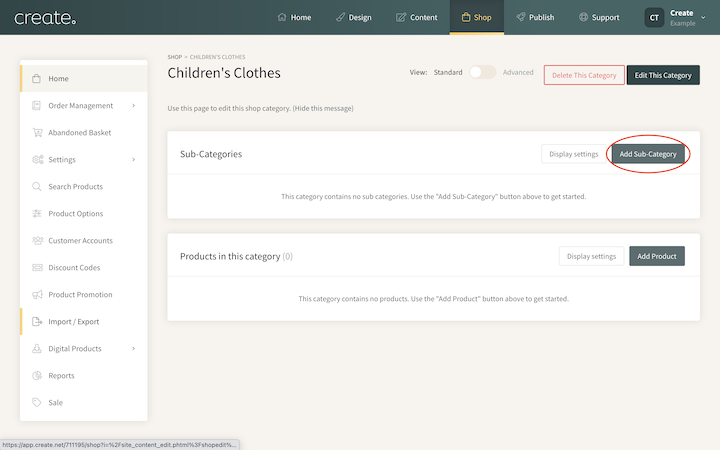
Related Articles


More Questions?
If you have any further questions, please get in touch and we will be happy to help.
Get in Touch