Help Centre
Support > Promoting Your Website > Social Media
How To Add LightWidget To Your Website
LightWidget is a flexible widget to display your Instagram profile and images on your website. They offer a wide range of different layouts and options to choose from and use to display your photos in the way you want.
Lightwidget offers various plans, both free and paid. Their free plan doesn’t support SSL secure websites, which Create provides, you will need one of their paid plans to use LightWidget with Create. They do offer a plan which is a one-off £10 payment which will provide everything you need to display your photos on your website and comes with a range of useful features to manage the widget.
Please note that as of December 4th 2024, Instagram requires a Business account to be linked to 3rd party applications such as Lightwidget. Please follow their instructions on how to convert a Personal account to a Business account here.
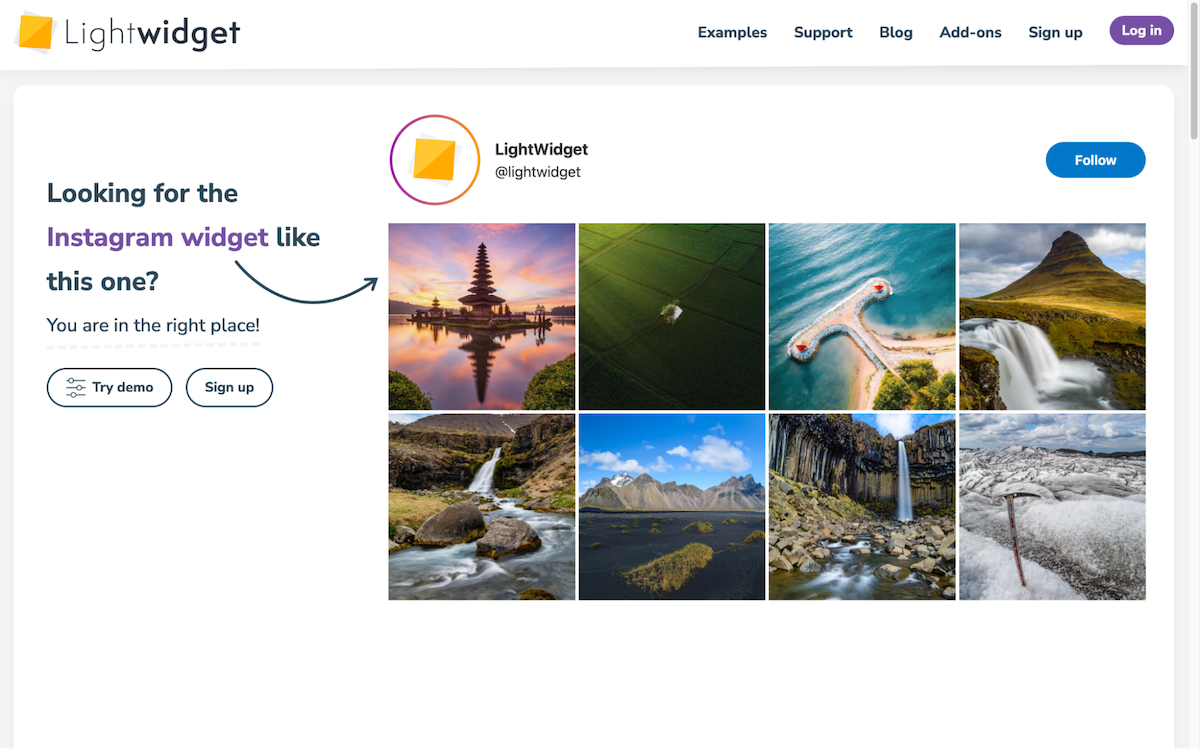
Getting started with LightWidget is quick and easy, all you need to have to hand is your Instagram login details.
Follow the steps below to sign up for LightWidget and use it on your website.
1. Visit LightWidgets website to set up an account
2. Lightwidget will guide you through the steps to connect your Instagram account
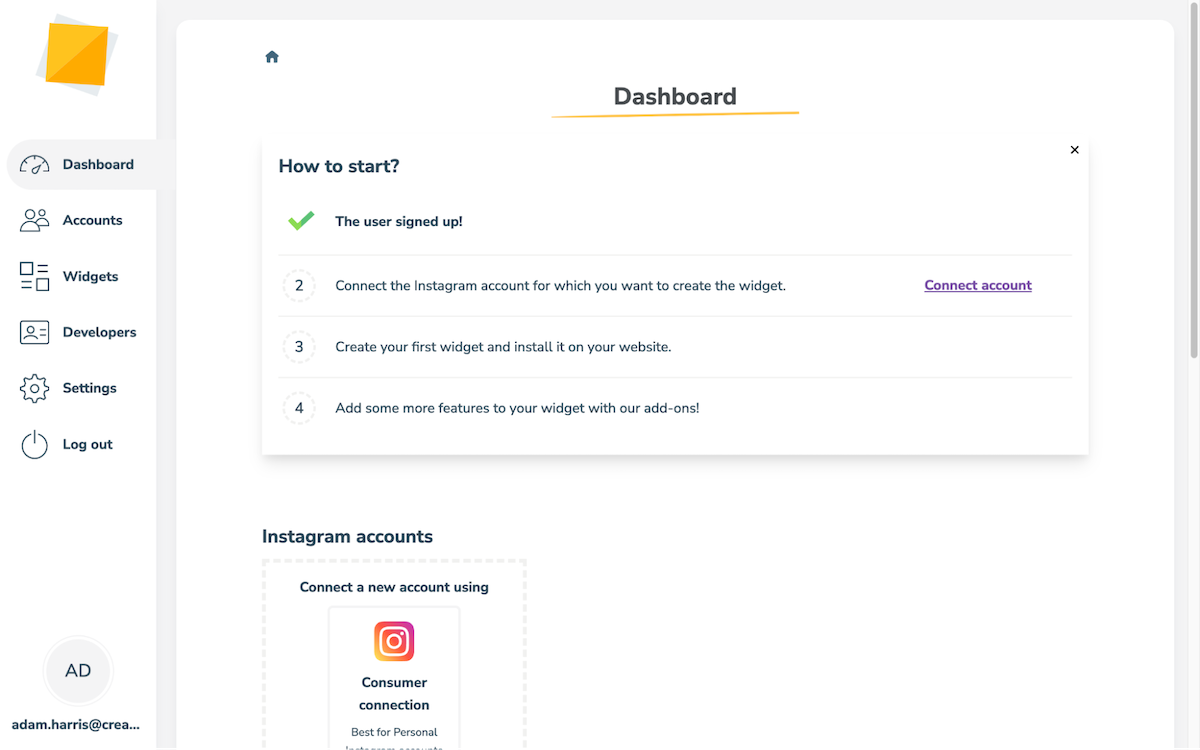
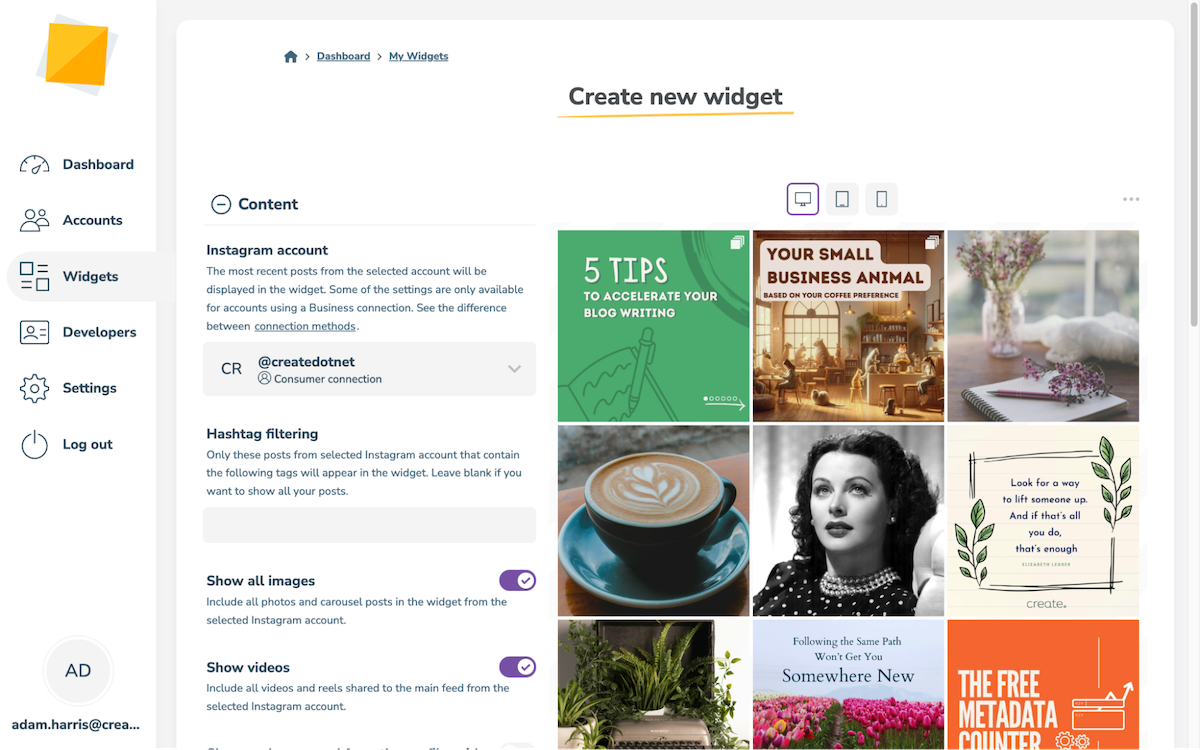
3. After connecting your Instagram account, you can make your Widget. Start by clicking the Create New Widget button. This will take you to the editor, where you can choose from a range of layouts and options which can all be fine-tuned to display your photos exactly how you want them to be shown.
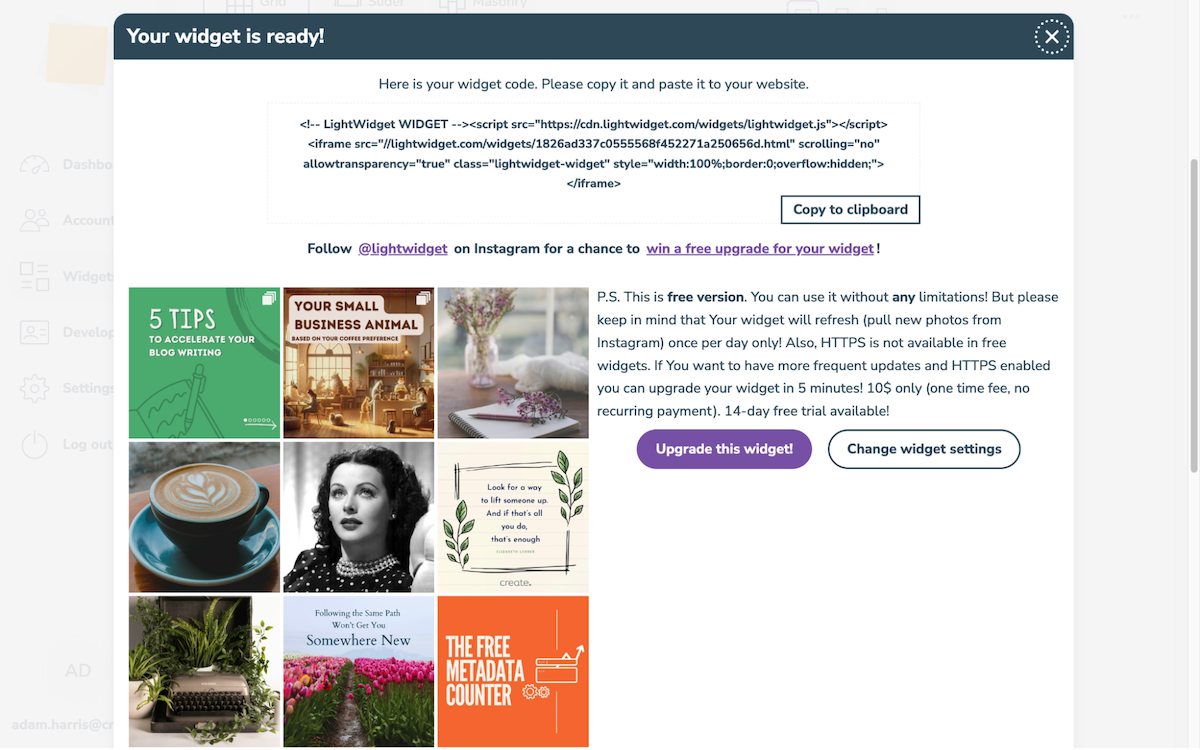
4. After setting up the style of your widget and the layout you want, LightWidget will provide you with a unique widget HTML code. You need to copy this code, using the copy to clipboard button. Once copied, this code will need to be added to an HTML Fragment in your Create account.
5. In your Create account, visit the Content > Integrations & HTML section and click the Integration Library > Custom HTML option
6. Give the Integration a name, for example, Behold Instagram and paste the code you copied directly into the HTML code box.
7. Set the Output to Manual, as you will want to place this HTML manually on the page you want it to show.
8. Click the Content item from the top menu and Edit the Page you wish to add the LightWidget to.
9. Click the Add Block button to open the Block Selector and choose Custom. Add a Custom Block onto the page, where you will want the Light Widget to show.
10. Click the Add Element button and select Integration from the list. Select the LightWidget Custom HTML from the list.
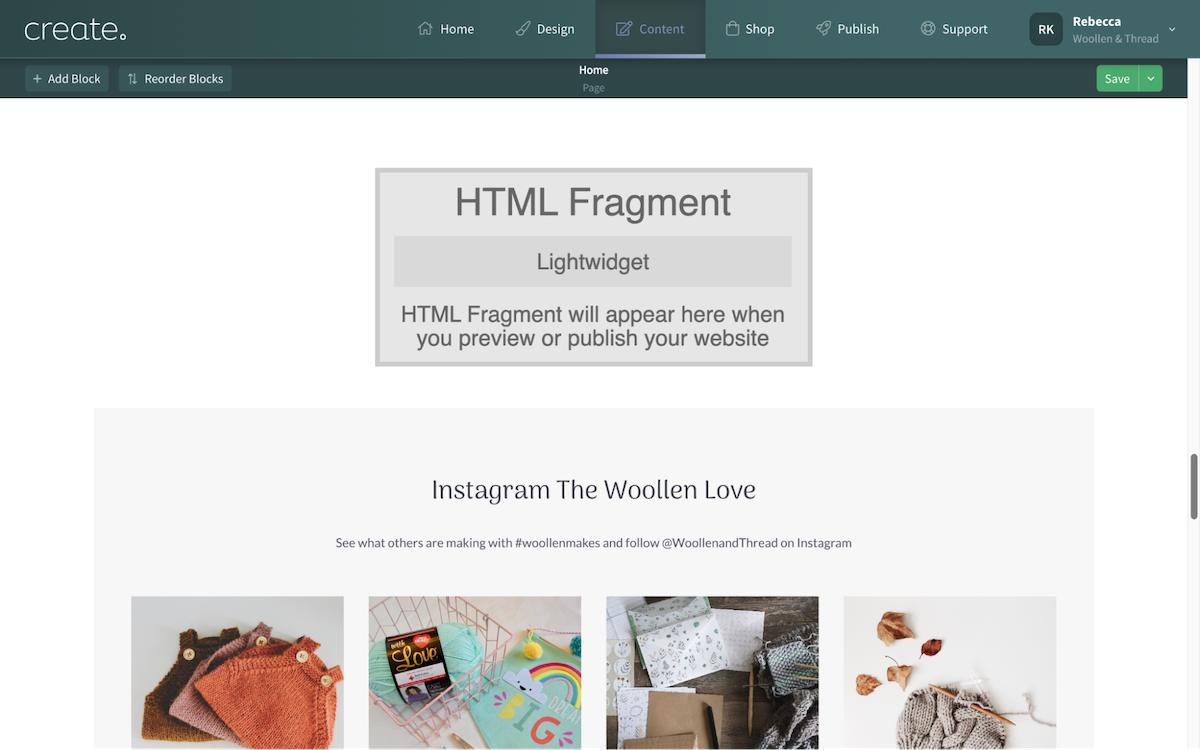
11. Click Done and the placeholder widget will be added. When you next click the Publish button, the LightWidget will be added to your live website where the placeholder was added.
Related Articles
Related Articles
More Questions?
If you have any further questions, please get in touch and we will be happy to help.
Get in Touch


