Help Centre
Support > Website Performance > Other Tracking
How to Setup Custom Conversions with the Facebook Pixel
Facebook’s Standard Events help you to track the actions that are happening on your website and optimise for more conversions from your advertisements (if you haven’t already, you can read more about Standard Events here). However, what you may find is that in some cases, your Standard Events may lack the specificity that you require.
Let's say for example that you have two separate lead forms on your website, each with their own purpose. Leads are certainly something you want to track, so you should create Events that log whenever the submit button is pressed on either of these lead forms. This action will then be displayed in your Facebook Business Manager.
However, Standard Events log your data in aggregate, so all of your Lead Events will be compiled into the same data set. It would be much more useful to distinguish these two Lead Events by their purpose and optimise for these conversions separately. This is where Custom Conversions come in useful.
Custom Conversions allow you to differentiate between your Events, establish more specific customer journeys and assign values to any conversion you would like to track. This guide will explain how you can do so.
Note: The above video is not reflective of the Facebook Business Suite updates.
How to Create a Custom Conversion
1. Load up Facebook Business Suite.
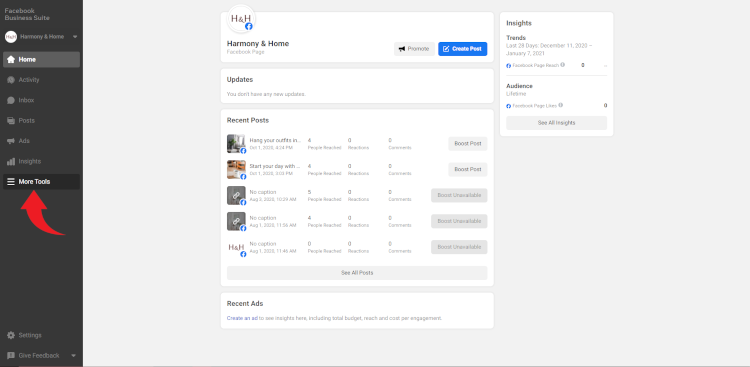
2. Select More Tools from the left-hand menu
3. Click Events Manager
4. Select Custom Conversions from the left-hand menu
![]()
5. Click Create Custom Conversion
![]()
A window will open allowing you to create your Custom Conversion. By opening the All URL Traffic drop-down box, you can select any of the Events you previously created from this list. The rule options allow you to select the URL that the event occurs on. You can create and combine other rules in addition to this one in order to make your event even more specific and relevant to the conversion you would like to track. For this guide, we will continue with the example using 2 separate Lead Forms.
6. Enter a distinguishable name for your conversion and add a description if required
7. Under the Conversion Event section, select the Event you would like to track. In this case we will be using Lead.
![]()
8. Set Rule 1 to URL >> Equals using the drop-down boxes
9. Enter the URL that one of your Lead Forms is on.
![]()
10. You should also enter a value for better campaign optimisation later on
![]()
Tip: To enter a value for your Lead Forms, you can divide the value of a sale between the average number of Lead Form submissions it takes to achieve a sale. For example, if a sale of a wooden playhouse is worth £600 on KidClever and on average it takes 15 separate enquiries through the Lead Form to make that sale, the value of each Lead Form submission would be around £40. Using this figure can help you later on when trying to determine whether or not you are getting a good return on your ad spend.
11. Click Create to complete the setup of your Custom Conversion
![]()
Your Custom Conversion will now be collecting more specific data on this Event. We would now need to do the same for any different Lead Forms on our website. This can be done for any Event Type or URLs you would like to track. However, please be aware that you are limited to 100 Custom Conversions by Facebook so be sure to only track the most relevant conversions to the success of your business.
Combining Events in Custom Conversions
Unlike your Standard Events, you can also combine actions in Custom Conversions to produce even more specific results. This is done by clicking the + button next to your Rules in the Custom Conversion Setup.
Let’s take a look at an example where this might come in useful. Let’s say that there’s a resource on your website that you know people really value and you know if someone lands on this page, there is a much higher chance that they then go on to make a purchase on your website.
By finding out who these people are, you can optimise your advertising campaigns to reach more people like them.
To do this, you could create a Custom Conversion aimed at All URL Traffic with rules saying:
1. Track anyone who lands on this exact URL (Your high converting page)
AND
2. Track anyone who lands on a URL containing ourshop/thankyou
![]()
By combining these two rules, you are able to say that anyone who lands on your high converting page who also lands on the shop thank you page after checking out will be recorded as a Custom Conversion. You can then use this Custom Conversion as a campaign objective in order to target more people like the users that completed this action
NOTE: In this example, we used URL CONTAINS in Rule 2 instead of using the exact URL of the shop thank you page. This is because this URL is dynamic and will append the specific orderID to each new checkout completion. The Contains Rule, when used correctly, allows for variations to a URL.
Once you’ve got the Standard Events and Custom Conversions you would like to track setup on your website, you’ll need to give them some time to populate with data. When you are ready and have enough data, you can then go on to create your audiences and advertising campaigns that use this data to optimise your results.
FAQ
Why use Standard Events if I can set up Custom Conversions?
While it is possible to set up a lot of actions as Custom Conversions instead of Standard Events, you are limited to how many you are able to create whereas with Standard Events you are not. Standard Events also provide more functionality than Custom Conversions. For example, you could set up audience targeting features with Standard Events but not with Custom Conversions. Therefore, Custom Conversions should only be used to track and optimise for the most important actions on your site.
Why can’t I use Custom Conversions to create an Audience on Facebook?
Custom Conversions are used as a campaign objective rather than as a way to select an audience. Facebook has become very effective at being able to target people that are more likely to convert for businesses. With this in mind, it’s much better to select a wider potential audience and let Facebook learn for itself who is most likely to complete the Custom Conversion from this pool of people. Over time, you can refine your audience to be more and more effective the more you optimise for that objective, rather than creating an unrefined audience from your Custom Conversion.
Should I choose a Standard Event for Optimisation when my Conversion Event is All URL Traffic?
When creating a Custom Conversion using All URL Traffic, there is an option to choose a Standard Event for Optimisation. This will affect the way Facebook tracks users who complete this Custom Conversion. We recommend leaving this setting as the default. This will let Facebook decide on the best way to optimise your Custom Conversion based on the data they’ve collected.
How do I make changes to my Custom Conversions?
All of your Custom Conversions can be managed entirely from your Facebook Business Manager. Simply head to Custom Conversions from the left-hand menu, find the Conversion you’d like to make changes to and expand it using the arrow on the right-hand side. There will be a button in the bottom left of your expanded conversion that says Manage. You can make changes or delete your Custom Conversion here.
Related Articles


More Questions?
If you have any further questions, please get in touch and we will be happy to help.
Get in Touch