Help Centre
Support > Promoting Your Website > Email Marketing
How To Add A Brevo Signup Form To Your Website
Brevo (formerly known as SendInBlue) is an email marketing and CRM platform that offers a range of features to help businesses grow their audience and engage with their customers. The platform offers a drag-and-drop editor, automation tools, and integrations with popular apps and services. communicate with their customers across multiple channels. They focus on embedded sign-up forms, which are located on a page, rather than a pop-up.
Brevo offers a free plan that allows you to send up to 300 emails per day and includes a form builder, as well as paid plans starting at just £16 per month for up to 20,000 emails. This makes it a great choice for small businesses that are just starting out with email marketing. You can view their plans here.
**Please note if you use a domain email address with Brevo, they may request that you validate the address. For further details about this, please refer to this help guide.**
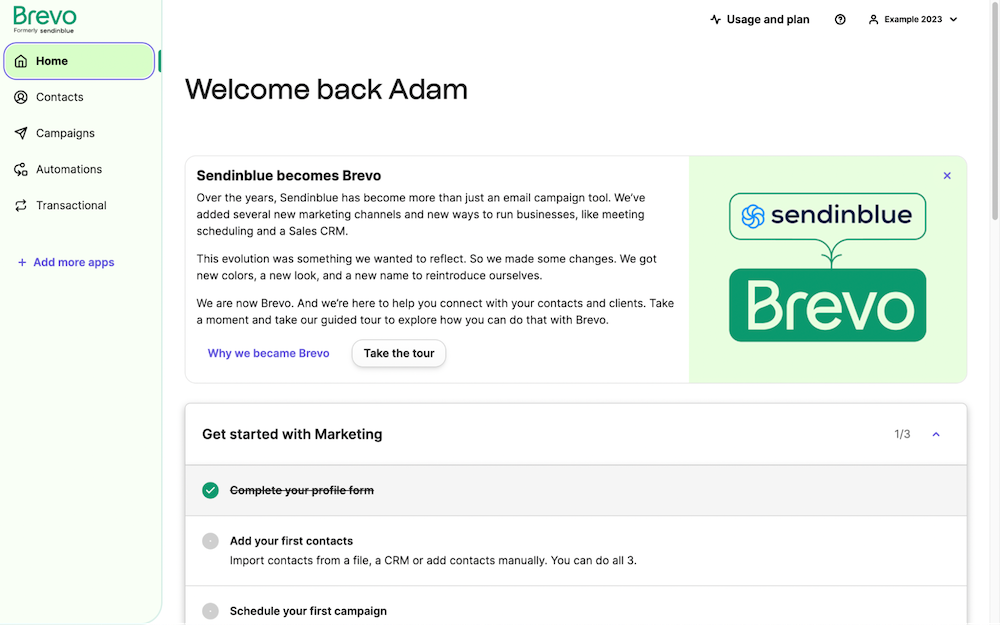
To get started, sign up for a free trial. Once you have set up an account, you will have access to the Brevo Dashboard, as seen below:
To begin making a sign-up form, click on Contacts in the left-hand menu, followed by the Forms section.
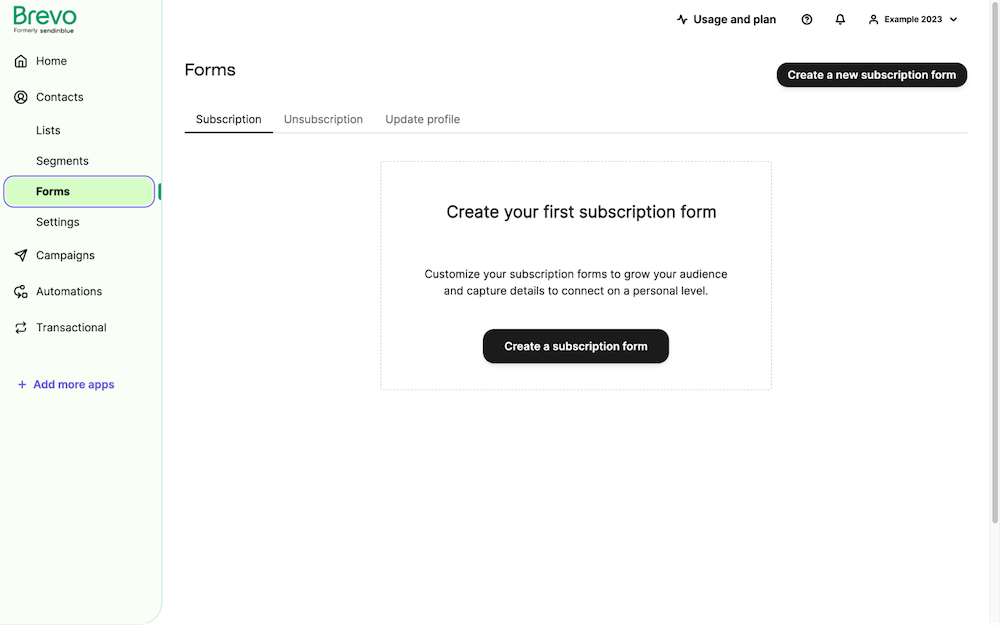
Begin the process of making your form by clicking the Create a Subscription form button.
You will then need to give your form a name, along with various other details. Eventually, you will be taken to their Form Design area. It is here where you will design the look of your sign-up form.
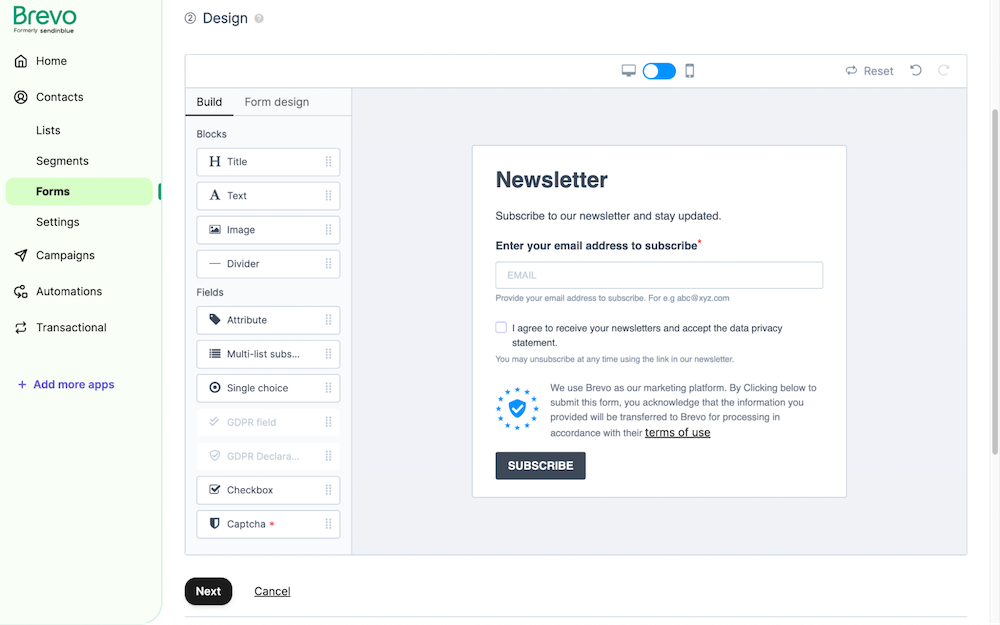
Here you can set up the form, how it will look and what it will include, using a simple drag-and-drop process to construct it. Once you have built the form and are happy with how it looks, proceed through the remaining steps.
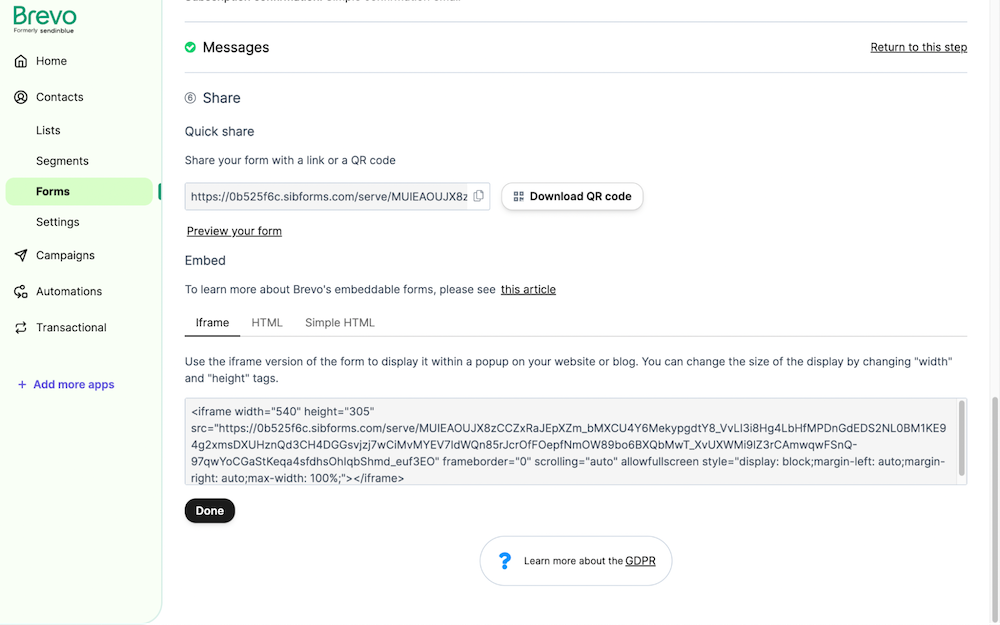
The last section is the Share section, here where they will provide you with the HTML code you can use to add the form to your website.
If you select the iframe version, copy this code to your computer's clipboard.
Now you have the code copied, return to your Create account and add this code into its own Custom HTML Integration in Create. With this code, you will want to set the HTML Type as Manual. More details about adding Custom HTML can be found in this help guide.
Next, you need to add the HTML to the page you require the form. You can do this by using a Custom Block and placing the block on the page you would like the form located. You then need to add the Brevo Html Fragment into this custom block. Further details about adding a custom block can be found here.
After publishing the website, the form will then display on the page.
Related Articles


More Questions?
If you have any further questions, please get in touch and we will be happy to help.
Get in Touch