Help Centre
Support > Designing and Building Your Website > Designing Your Website
How do I create a promotional banner slider?
A banner slider is a graphical display that can be used to push instant engagement with your website visitors. They have become a staple of e-commerce stores and are used primarily to promote campaigns such as sales and purchasing opportunities, that would otherwise have to be searched for or discovered by chance.
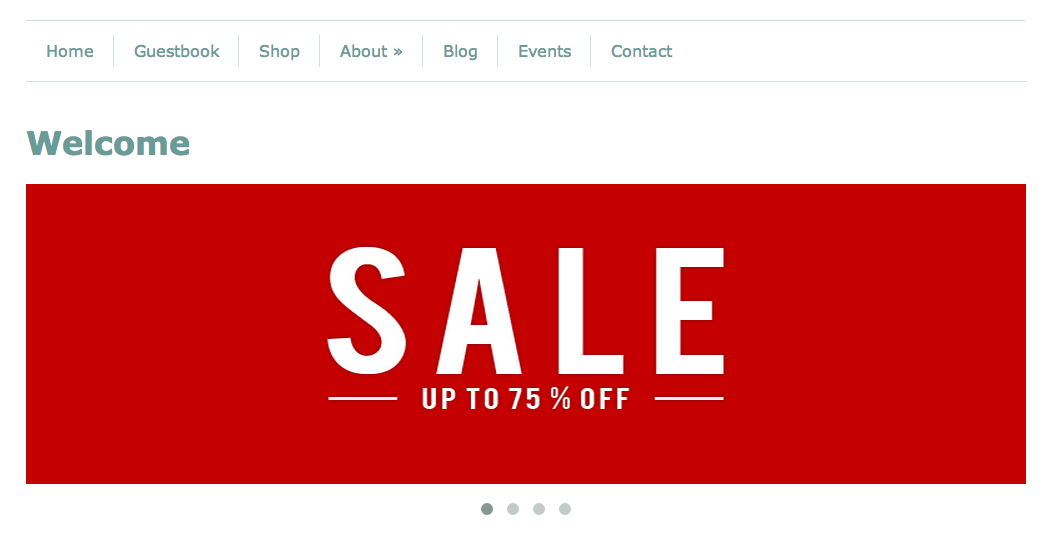
The Create "Banner Widget" allows you to build this promotional tool quickly and easily, whilst being mobile friendly. You can add up to 10 separate images in one widget and assign unique links to each one for pushing visitors to the correct location.
What will I need?
Before building your widget you will need to decide what you would like to promote and then design the images you will display in your banner. This can be done using a design program such as Photoshop or an online image editor such as Pixlr.com.
For the best results we recommend that all images used in an individual widget are created with a max file size of 100kb and have equal dimensions of either:
- Small – Width: 1000px | Height: 200px
- Medium – Width: 1000px | Height: 300px
- Large – Width: 1000px | Height 400px
- None - Width 1000px | Height Optional
Please note when selecting 'None' for Height that we recommend choosing a desired 'Height' to resize all images to, for best efffect.
Once the images are ready you can add them to your Create account:
1. Login to your account and go to the "Content" screen
2. Click "Images" in the left-hand menu
3. Click "Add New Image" and follow the on screen instructions to upload your images
Creating the "Banner" widget
1. Go to the "Content" screen in your Create account
2. Click "Widgets" in the left-hand menu
3. Click "Add New Widget" on this screen
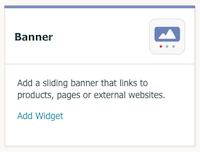
4. Click the "Banner" option to create a new widget
You will now be provided with the setup form for this widget.
Title – Name your widget so that it is searchable within your account. This is only used within the Create application and not on your live website.
Controls – There are three options to choose from 'Dots', 'Thumbnails, Arrows' the selected control will appear below your sliding images.
Transition Type – There are two options avaible to choose for transition between slides, either slide or fadec
Max-height – There are three options available for the max-height of your widget and you should choose the one that best suits the height of your images.

Play Mode – Choose between 'Auto Advance' or 'Manual Advance' - by selecting Auto you can adjust the 'time' between transitioning, see 'Auto Advance Time' below.
Auto Advance Time – If you have selected 'Auto Advance' above you can choose between three options for the amount of time an image is displayed for, before transitioning to the next image. 2, 5 or 10 seconds.
Image search – Search your site images by entering the file name of the image you would like to add to the widget. Double click the image in the drop-down to add it to the widget.
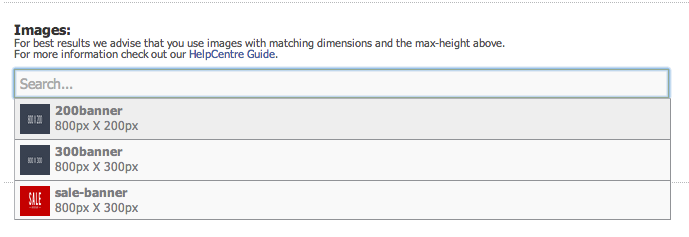
Image card – When you add the image it will display below the search field in the following way:
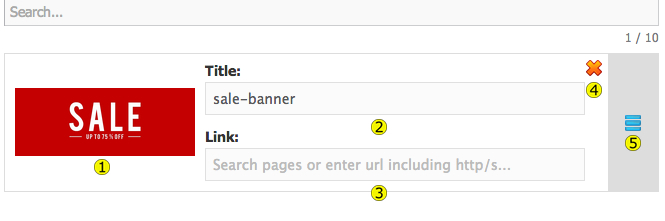
1. Image preview.
2. Title – This will be automatically generated from the image file name and will also be used on the live website as the alt tag for the image.
3. Link – This field will create a link from the image on the live website to a specific webpage. Search your pages, products and categories or enter a full url, including http/s, for external links.

SEO TIP – Record click-throughs and referrals in your preferred website analytics platform by including tracking parameters on your urls.
4. Remove image from list.
5. Drag and drop handle – Change the order images are displayed in.
Once you have added all images click "Add Widget" to confirm and save your widget.
Once you have created your "Banner" Widget, follow the steps below to add this to your site:
For Content Pages
Related Articles


More Questions?
If you have any further questions, please get in touch and we will be happy to help.
Get in Touch