Blog > How To Take Great Product Images with a Smartphone

The Importance of Product Images
When buying online, your customers don't have the opportunity to pick up, touch and examine your products. Therefore, your website imagery is a huge opportunity to show off the products you’re selling, showcase the details and make them as appealing to your buyer as possible.
Imagine your online shop is a bricks and mortar store on the high street. Your products are in the front window and you want to display them in the most attractive way possible.You can achieve this on a website with good quality product images.
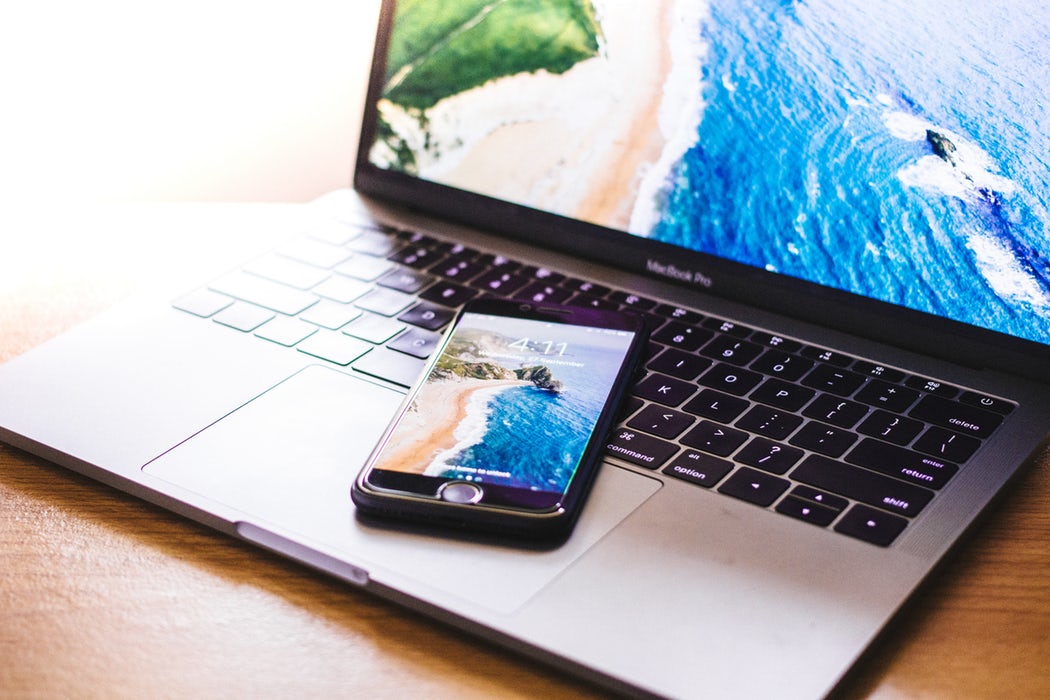
You don’t need a high-end camera to shoot good quality product images. The majority of modern smartphones have very capable cameras and can produce some excellent photographs when a few simple factors are considered as you take the shots.
Best Practices to Consider When Taking Photos
Before taking any photos of the products, there are just a few simple things to consider that can greatly benefit the photos you take.
Image Mode
If you’re using a smartphone to take your product photos, it’s worth trying out the different photo modes available to you. One feature that many smartphones have is called HDR (High Dynamic Range). With this enabled your camera will take multiple photos and combine the best elements to produce a photo with the best lighting, colour and contrast.
Multiple Angles
Where possible, it’s always best to take photos of your products from different angles. Depending on the product, it’s often very beneficial for the customer to be able to see all aspects of what they are buying. Think about taking photos from high angles, and where relevant show the different sides to your product too.
If you’re selling something like jewellery, you’ll want to get as close to the item as possible. Some cameras have a “Macro” mode to allow you to get very close to the subject. Alternatively, there are add-on lenses for smartphones you can purchase, which will enable you to take this type of shot. The end results can be very effective and really show-off the detail on a product.
If you’re selling the same product but in different colours or shapes, then displaying a photo for each of the different types is helpful to the customer. It allows them to see what the different variations of your product looks like. Don’t leave this to their imagination, show them!
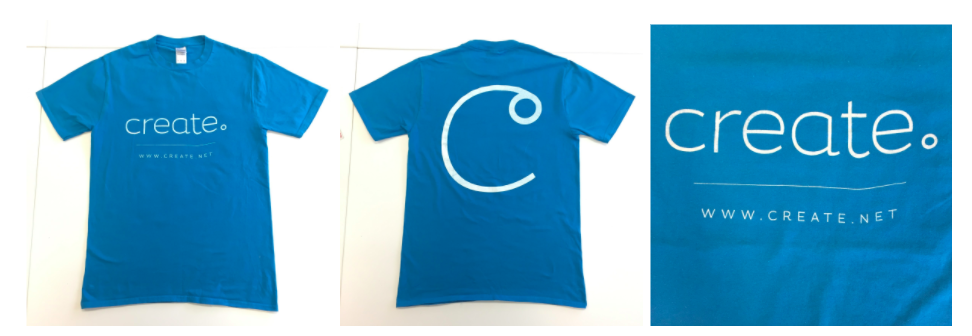
Multiple photos of the same item, from different angles and with a close-up on detail
Consistency & Style
One of the easiest ways to give your online shop a professional and neat appearance is for your product images to have the same consistency and style. Try to settle on a size or aspect ratio for your photos and stick to it. An online shop always looks better when the images are all the same aspect ratio versus a shop where the images are random sizes and inconsistent. With Create, square product photos tend to look the best and give a nice even look to your shop page.
The same applies to the background of your image. Think about taking the photo of your item on the same surface background or consider about using themes for the different types of products. Consistent backgrounds not only look more professional but also help the customer compare your product options more easily when the images are all in the same style.

Consistent photo ratio and background
Simple tips to take better photos
As I’ve mentioned, taking good quality photos is very achievable even with a smartphone camera. Try to consider the following when taking photos of your products to lead to better results.
Lighting
Having a well-lit product can make such a difference and product images always look better as a result. Ideally using natural lighting from a window on a bright day or by using a desk lamp to provide additional lighting. This will bring out the colours and detail of your products.
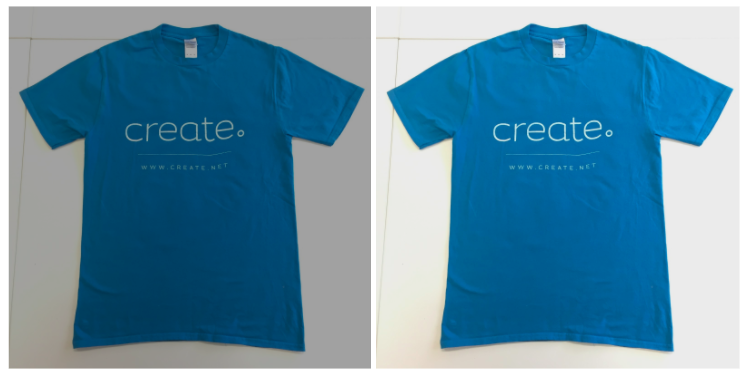
Image with low lighting in a poorly lit room (left) against image using natural lighting from a window (right)
Background
Depending on the type of product you are selling, a plain, light-coloured background is often preferable over one that is dark or textured. Coloured surfaces can also be used to good effect, but try to avoid patterns as the subject can get lost. As long as they are well lit and consistent, you can be quite experimental.
Focus
Many smartphones automatically focus on the main subject of the photo, nearest to the lens. On many models you can touch on the screen where you want the focus to be, so make sure your product is the point of focus. This allows you to get very close to a subject before it appears blurry and out of focus. Use this to really show the detail on your products.
After Effects
Many photo apps allow you to tweak and alter an image after it’s been taken. You can alter the brightness, colour and even apply filters. Some devices allow you to just click one button and it will automatically enhance the image - often providing great results. It’s certainly worth exploring.
Within the Create platform, when you have added product images, it allows you to make some changes and tweaks using the Create image editor. If you would like to know more about the Create.net Image Editor, I recommend watching the following tutorial we put together here.
Using effects on your photography can give your product images a particular look and style.
The End Results!
Hopefully, after using the methods and tips covered in this post you will be able to take some great photographs of your products that really do them justice. Your shop will have a stylish and uniform appearance to really grab the attention of your customers.
If you would ever like a second opinion about photos you’re thinking of using, be sure to get in touch and your Account Manager will be more than happy to help.