Help Centre
Support > Your Account > Your Create Account
How to Use the Website Administrators Feature
With this feature, you can invite additional admins to have access to your Create account, without the need to share your personal login details.
Not only can you provide access to additional admins, you have full control over what they can view and access within your Create account, on a per-user basis.
As a business owner, this is perfect for situations where you may have a designer working on your website, who has no need to access the Account and Payment screen. Or if you have some staff for your business who you would like to be able to amend or add to your shop stock, but have no need to access the Design Studio or the ability to publish to your live site.
This feature is exclusive to our Professional and Business packages.
How To Invite an Administrator
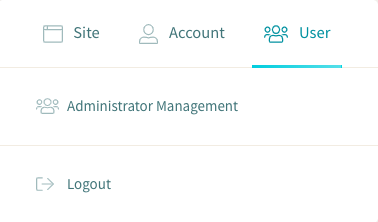
To invite an admin to have access to your account, navigate to the Account section of Create, by clicking on the Account Icon in the top-right corner and choosing 'User' from the drop-down.. You will see a section called “Administrator Management”.
In this section, you will enter the full name and email address of the person you want to invite to have access to your Create account.
![]()
Clicking on the green “Add Admin” button, you will be asked to enter the following details about the person you are inviting to your website:
- Email Address
- First Name
- Last Name
- Roles
The “Roles” section is where you will determine what this admin has permission to access. You can select as many or as few of these options as you wish. Any decisions made here, can later be amended if required.

The selection of "Roles" you have control over are as follows:
- Account and Payment
- Blog
- Connections
- Content
- Delete Pages
- Design
- Domains
- Enquiries
- Invoices
- Order Management
- Publish
- Shop Edit
- Shop Settings
- SSL Settings
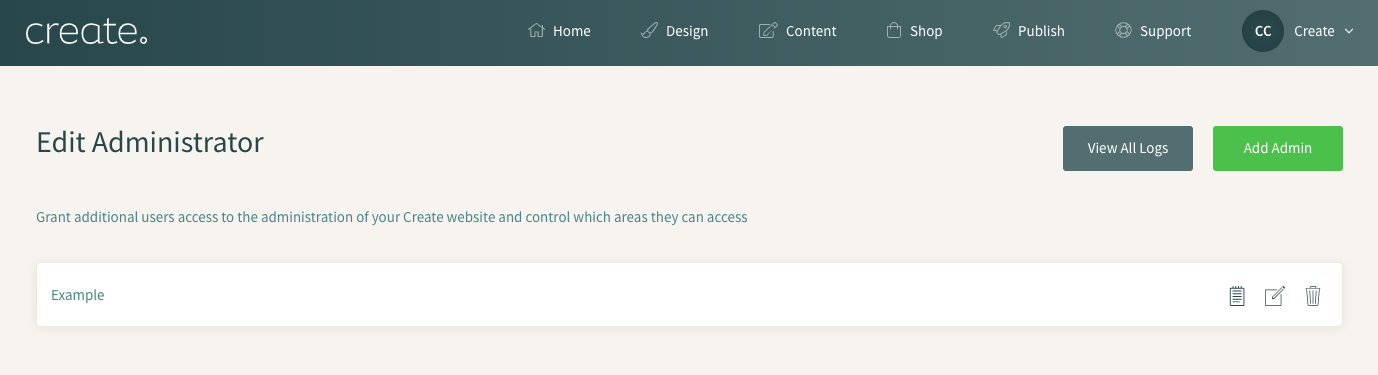
Once the details of the admin and their roles have been selected, clicking “Add Admin” will send an invitation to the email address you entered. The name of the admin will then appear on the User Screen, as shown below.
Once the invited admin has accepted the email invitation, they will then be asked to choose an email address and password to log into the account. This email address can be any email address the admin decides and will be their username when signing into the account.
Once the admin has signed into your account, using their unique login, any restrictions you have enabled will be set in place. If they try to access a section or function you have restricted them from, they will see the following message.

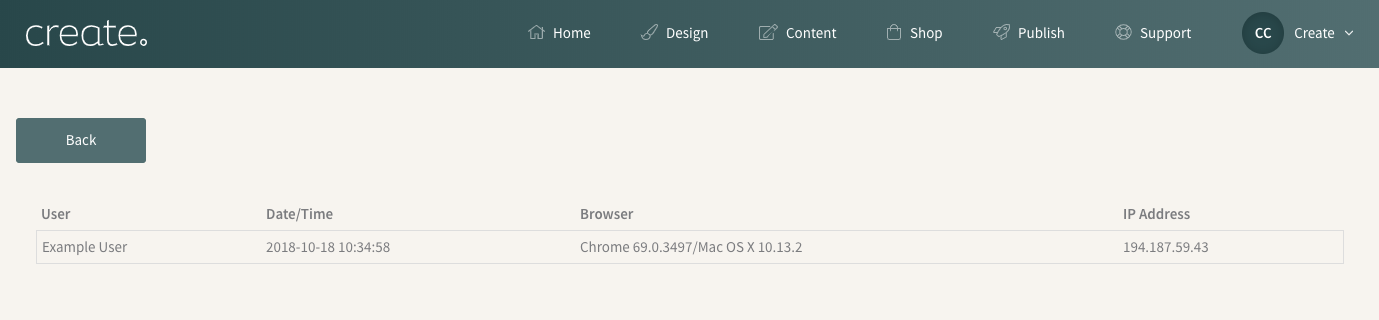
Once you have registered admins within your account, they will show up in your Administrator Management screen. For each admin, you have the ability to view the date and time they have logged into the account, amend their restrictions and delete the admin completely.
An example of the Log Screen and how it appears can be seen below. This screen displays the date and time of login, the browser version used and their IP address.
Related Articles


More Questions?
If you have any further questions, please get in touch and we will be happy to help.
Get in Touch