Help Centre
Support > Promoting Your Website > Social Media
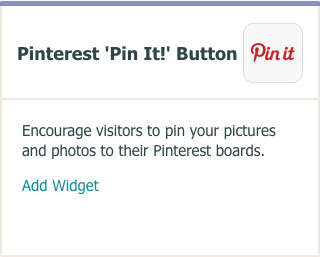
How to use the Pinterest ‘Pin It’ Button Widget
![]()
In this guide we will look at the following:

- How to create the 'Pin It' Button
- Choosing your widget settings
- How to display the 'Pin It' Button on a page of your website
- How to display the 'Pin It' Button in a “Side Column Item”
- How to display the 'Pin It' Button on your “Site Footer”
- How to publish the changes to your live website
How to create the 'Pin It' Button
To create the Pin It Button please follow the instructions below:
- Log in to your Create account
- Click on "Content" on the top menu
- Click on "Widgets" on the left hand menu
- Click on "Add New Widget"
- Scroll down to the "Pinterest ‘Pin It’ Button" widget and click "Add Widget"
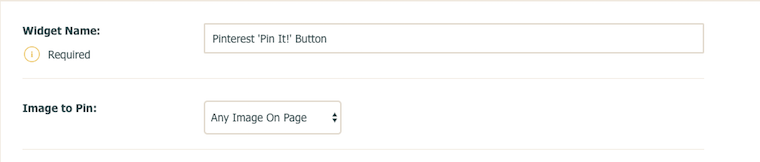
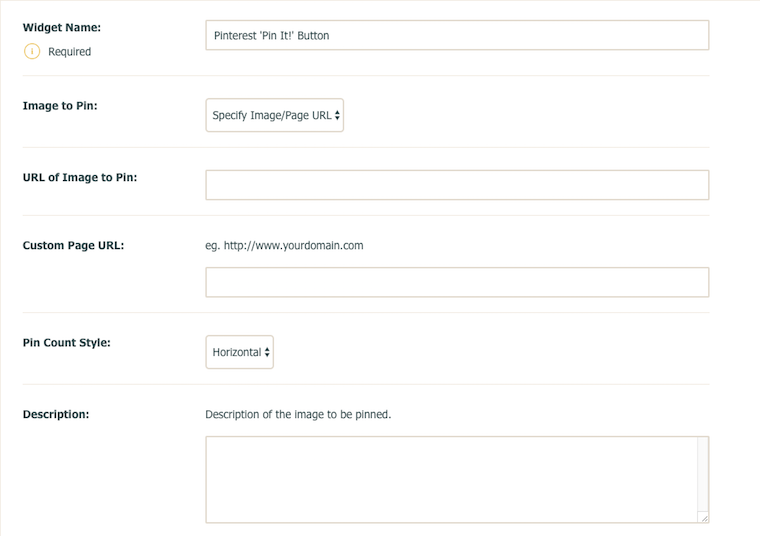
- Set up the ‘Pin It’ Button by giving the widget a name for your reference
Choosing your widget settings
You can either allow your visitors to pin any image from the page the button is on, or specify a particular image to be pinned.
To allow visitors to pin any image from the page:
Select ‘Any Image On Page’ in the ‘Image to Pin’ drop-down list. (Please note that this selection disables the ‘Pin Count’ feature, which shows visitors how many times a page has been pinned.)
To specify an image to be pinned:
Select ‘Specify Image/Page URL’ in the ‘Image to Pin’ drop-down list. You’ll then see the following mandatory fields to fill in:
- URL of Image to Pin: Enter the source URL for the image to want to pin. To get this, go to the image on your website, right-click (ctrl-click on Mac) the image and select ‘Copy image URL’. Then paste this URL into the ‘URL of Image to Pin’ field, using right-click (or ctrl-click on Mac). The URL needs to have the prefix ‘http://’ in order to work.
- Custom Page URL: Enter a custom URL for people who click the pin image to be redirected to. It might be the page the image is on, or you might prefer all clicks on your pinned images to direct people straight to your Home Page or your Shop Page. The URL needs to have the prefix ‘http://’ in order to work.
- Pin Count Style: Choose whether you’d like to display how many times the page has been pinned next to the button, and if so, whether it should be displayed above or to the right of the button.
- Description: Add an optional description of the image you’re allowing people to pin. This will be included when they pin the image to their pinboard.
- After making your selections, click "Save Changes".
Once you have created the Widget you can follow the instructions below to insert it into the area of your website where you want it to appear.
How to display the 'Pin It' Button on a page of your website
To display the 'Pin It' Button on a page of your website please take a look at the instructions below:
-
Click Content on the top menu
-
Click Edit This Page (the pencil icon) next to the page you would like to edit
-
Click the +Add Block button
-
From the Add Block filters, select the Custom filter in the 'Blocks that include...' category
-
You can then drag and drop the Custom content block you need onto the desired place on the page.
Once the Custom block has been added to the page, you can click the + icon and use the drop-down menu to select what content you would like to add to the page.
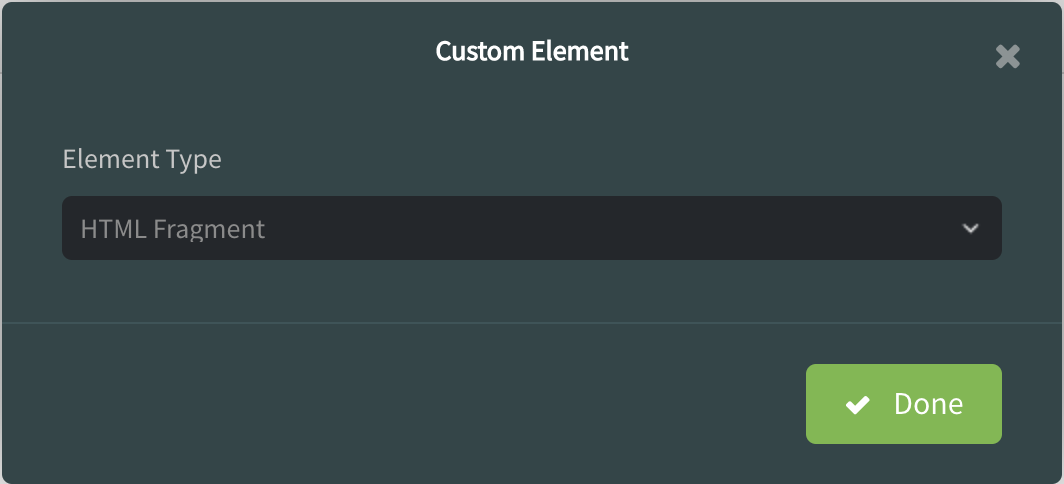
You’ll see you can select content including Widgets, HTML Fragments and Custom Forms, as well as combinations of other blocks such as Buttons, Headers, Images, Videos, Maps and Text.
A placeholder icon will be added to the page and if you click the Settings icon, you can specify exactly which widget or HTML fragment for example, you would like to use. Click Done and then save your changes.
How to display the ‘Pin It’ Button on your "Site Footer"
To display the ‘Pin It’ Button on your "Site Footer" please follow these steps:
- Click on "Content" on the Top Menu.
- Click on "Edit Site Footer" on the left-hand menu.
- When the content editor appears, place your cursor where you would like the ‘Pin It’ Button to appear and click the "Insert Widget" icon on the Editor Toolbar (this icon looks like a lightning bolt).
- Select the Widget from the drop-down list and click the "Insert Button". A grey holding box will then appear as shown in the screenshot below.
- Click the "Save Changes" button.
How to publish the changes to your live website
Once you have added the ‘Pin It’ Button to the places you want it to display on your website you will need to publish the changes to your live website.
To publish the changes to your live website please do the following:
- Click on "Publish" on the Top Menu.
- Click on "Publish to Web".
- Click on the "Yes, Publish!" button
Your changes will now appear live on your site and visitors will be able to start pinning your images.
Related Articles


More Questions?
If you have any further questions, please get in touch and we will be happy to help.
Get in Touch