Help Centre
Support > Domain Names & Email > Domain Names
I registered my domain name with GoDaddy. How do I use it with my site?
If you haven't already done so, you will now need to add your domain name to your Create account. To do this please follow these instructions:
- Log in to your Create account
- Click on "Account" on the top menu
- Click on "Manage Domain Names & Email"
- Click on the link for "Add Existing Domain"
- Enter the domain name you want to add to your account, for example: create.net then click on the "Add" button.
- Your domain name should now display on your "Manage Domain Names & Email" screen.
- You may need to publish your website for the website to appear at the new domain name.
You will need to locate your Create IP Address in order to change your account settings with GoDaddy. To locate your Create IP Address please see the steps below:
- Log in to your Create account
- Click on "Account" on the top menu
- Click on "Manage Domain Names & Email"
- Message will read: "Your site's allocated IP Address: [Your IP Address]” – see image below
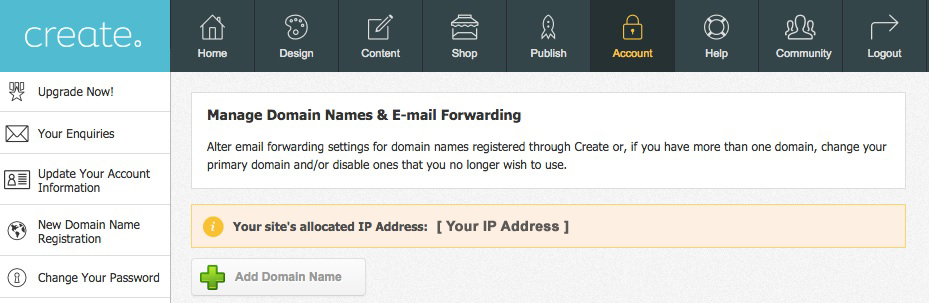
Please note, in the example above [Your IP Address] represents where your IP Address will be displayed; this is a series of numbers. You should use this exact IP Address located within your Create account when altering IP settings with GoDaddy.
To point your domain name to your Create website in your GoDaddy account please follow these steps*:
- Login to your GoDaddy account at http://uk.godaddy.com/.
- Click on the "Hi Your Name" menu item in the top right of the screen and then click "Vitis My Account".
- Next to "Domains" in the list click "Launch"
- This opens the Domains control panel
- Click on "Launch" next to the domain name in the list that you want to use with your Create website.
- Click on the "DNS Zone FIle" tab next to the "Settings" tab
- Click on the "Edit" tab, and in the table headed "A (Host)" click the edit button to the left of the "@" entry and change the "Points To" IP Address field to your Create IP Address located in your Create account (see 'locate your IP Address’ steps above)
- Repeat this for the "www" entry.
- Click the "Save Zone File" button above the top right of the table or at the bottom of the screen. Your change should go through within 24 hours
*These steps are a guideline and may not remain accurate as outside registrars updates sites regularly, please contact your registrar if uncertain.?
Please note: If neither of the "@"/"www" records are showing in the host table, you will need to set this up manually by clicking the "Quick Add" tool and set them up yourself. (Host "@" pointing to your Create IP Address and Host "www" pointing to the same Create IP Address)
- These should be the only records for A(Host) "@" and "www"
If you are having any trouble with this, you should be able to contact your registrar's support team who will be able to assist with this, just paste them the instructions above including your Create IP Address and they will be able to help.
Please note, changing your domains “DNS settings” to point to your website should not affect any email service you may currently have set up with your registrar, and you do not need to make any changes to your email settings.
Related Articles


More Questions?
If you have any further questions, please get in touch and we will be happy to help.
Get in Touch