Help Centre
Support > Ecommerce > Categories and Products
How to add Product Options to your product
Once you have created your Product Options you will need to manually add them to your products. This is great as it means you can choose exactly which Product Options and how many you would like on each individual product.
In this guide, we will look at how to add your Product Options to your products and how they will display on your live site.
How to add your Product Option to your product
To add a Product Option to your product please follow the instructions below:
- Log into your Create account
- Go to your "Shop" area from the Top Menu
- Select the category your product is in
- Click "Edit Product" next to your product
- Next, click the "Product Options" tab
- Choose your Product Option from the drop-down list in "Apply an Option"
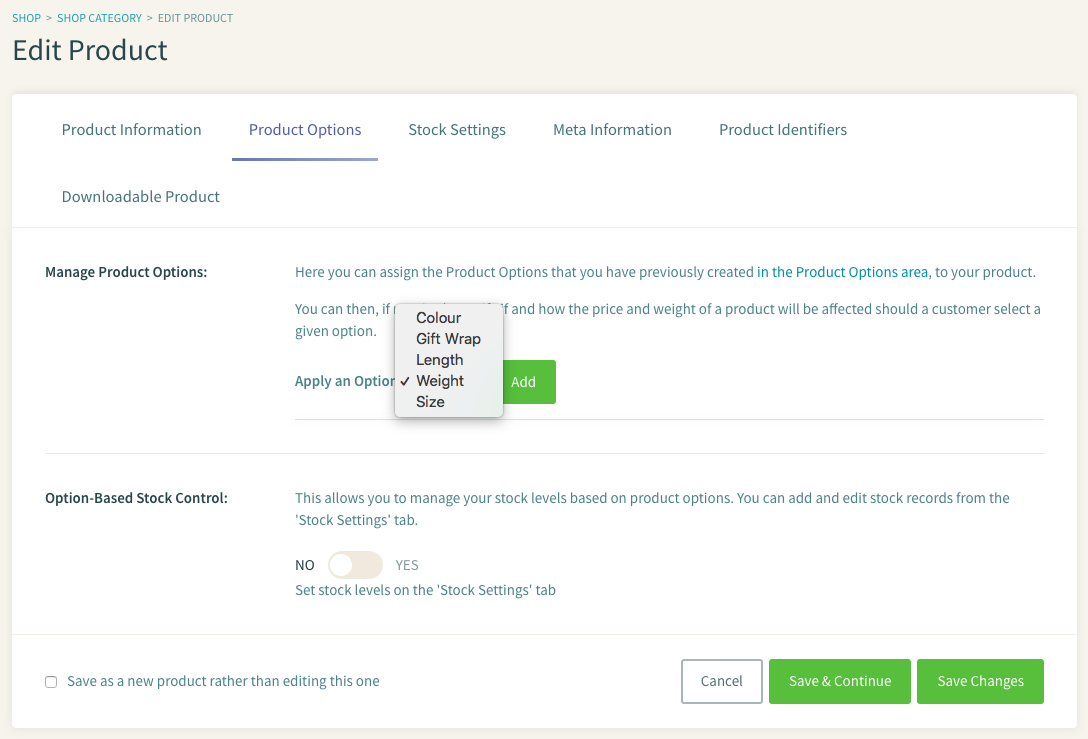
- Click the "Add" button
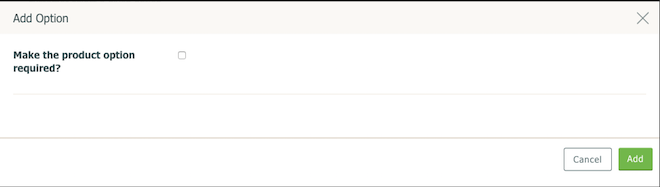
- You will then be asked whether this Product Option is 'required', as in whether you want it to be mandatory for your customer to make a selection before they can proceed. Make your selection and click "Add"
- Your Product Options will then appear as in the following screenshot:
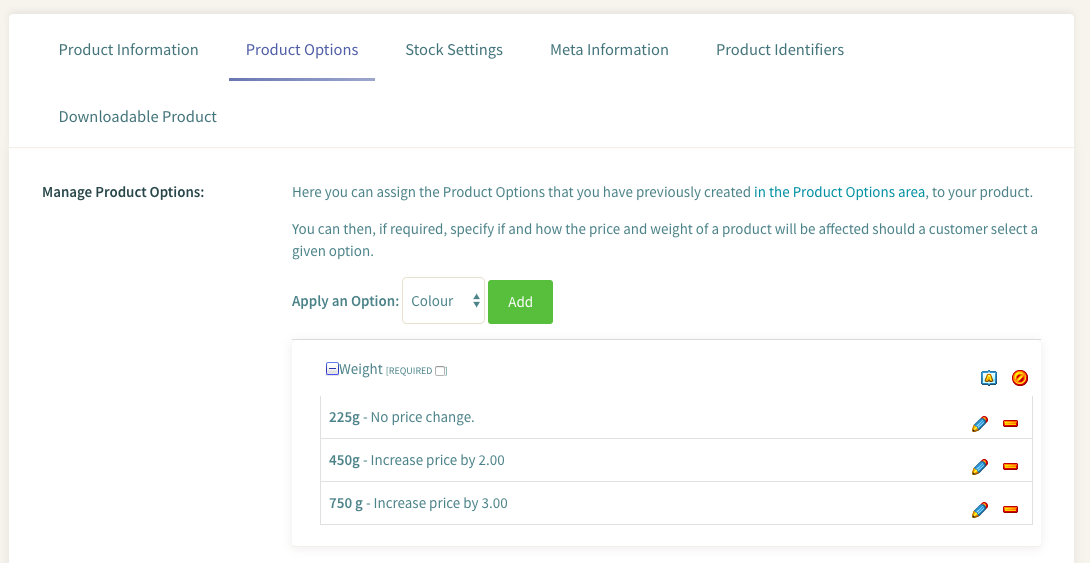
- Tick the box next to the Product Option Name to add it to your product
- Save your changes
Your product option will then appear on your live site as below:
Related Articles


More Questions?
If you have any further questions, please get in touch and we will be happy to help.
Get in Touch