Help Centre
Support > Designing and Building Your Website > Adding Your Content
How To Use And Utilise User Accounts On Your Website
Your Create website has the facility to let you have customer or website user accounts on your website. You can use this as part of your shop to allow customers to register accounts which will store their address information and order history, or you can use it anywhere on your website to password-protect certain pages.
In this guide, we will be covering:
- Ways in which you can use customer accounts/website users
- Putting an account login box on your website
- Do you want customers to be able to register themselves?
- Manually adding users to your website
- Creating and managing user groups
- Customising the user account emails
- Password protecting your website's pages
- Using customer accounts with your shop
Ways in which you can use customer accounts/website users
You can utilise user accounts in the following ways:
- To allow your shop customers to register an account, to monitor their order history and save their address information.
Useful if you have an online shop, to make purchasing even easier and faster for your customer! - To password protect any pages of your website.
This is great if you want to share some work with only certain clients such as photos, or perhaps share your company news and events with your website users only. - To password protect your shop, so only website users can access or see your products.
Handy if you want to sell wholesale and only allow retailers to see your products.
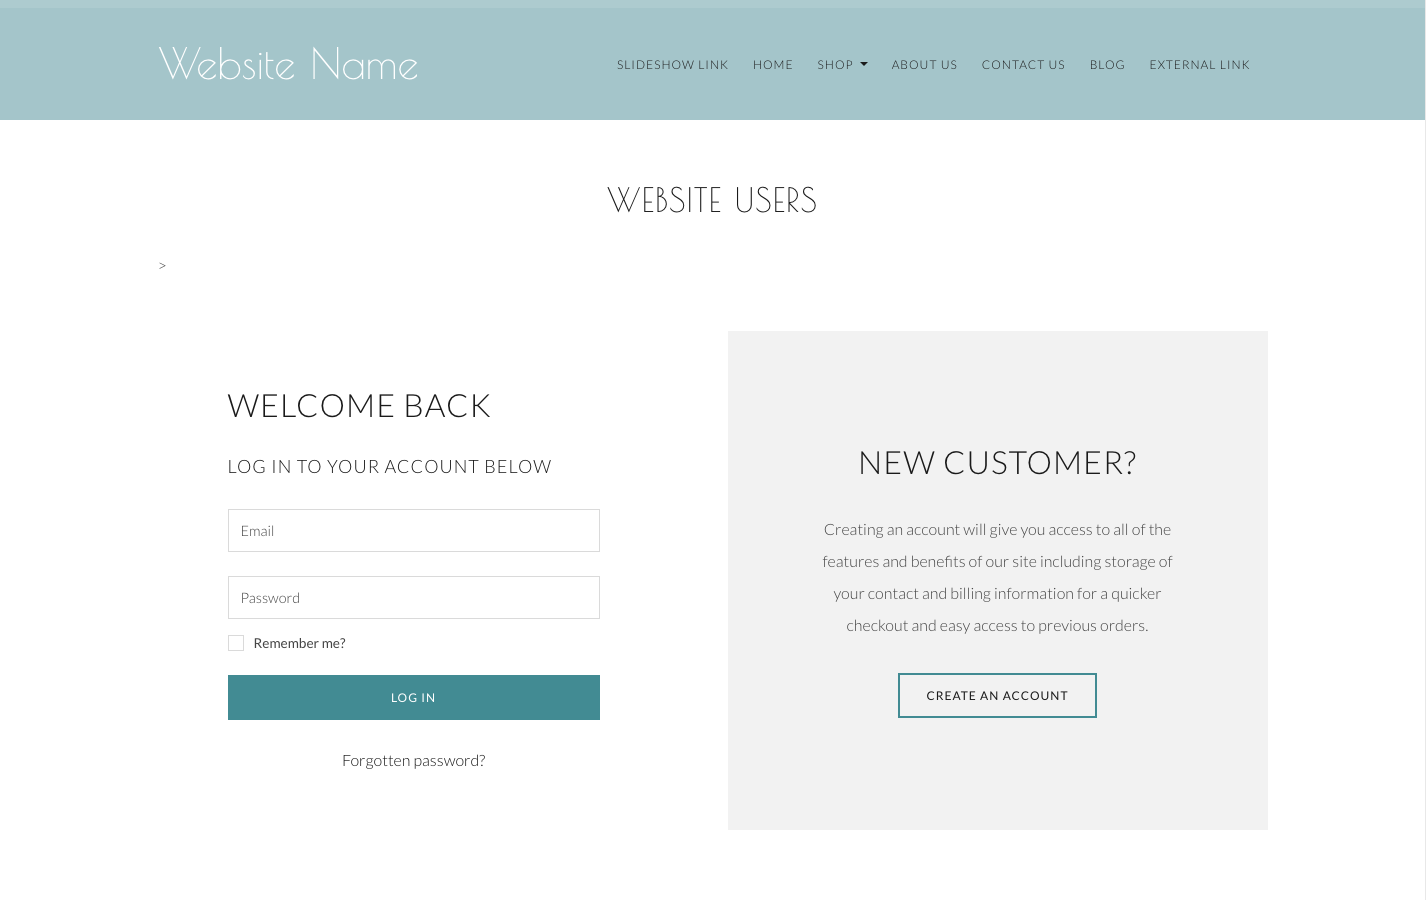
Putting an account login box on your website
By default, there is a "customer login" link on your shop pages.
If you do not have a shop, or you want a customer to be able to log in from any page of your website.
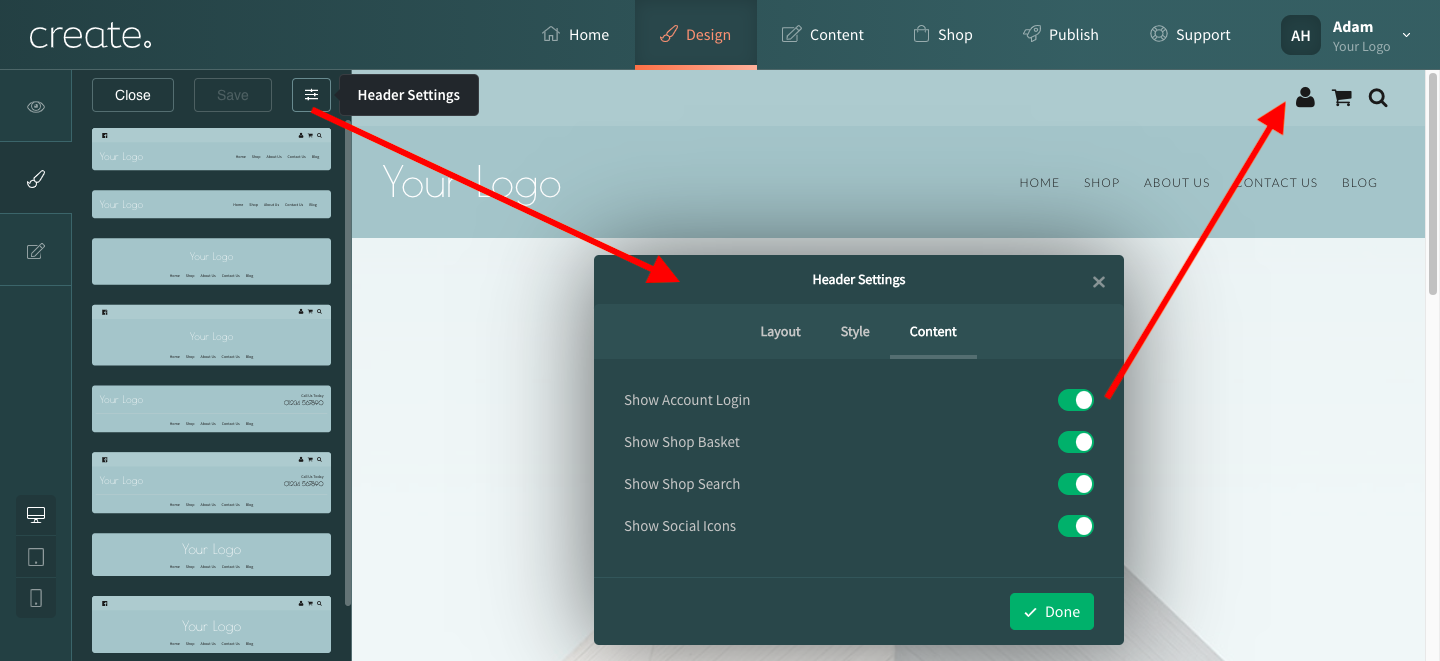
You can add this via a side column item by following the instructions below:
- Click Design (from the Top Menu)
- Click Edit Header
- Click the Header Settings icon (situated next to the save button)
- Click the Content tab
- Toggle on the Show Account Login
Do you want customers to be able to register themselves?
If you don't want your customers to be able to register themselves with your website, you can remove the "register an account" link.
This way, only you will be able to add new users to your website.
To remove the register link, please follow the instructions below:
- Click Content from the Top Menu.
- Click Website Users from the left-hand menu.
- Click User Settings from the left-hand menu.
- Change the drop-down titled Allow visitors to create accounts to NO
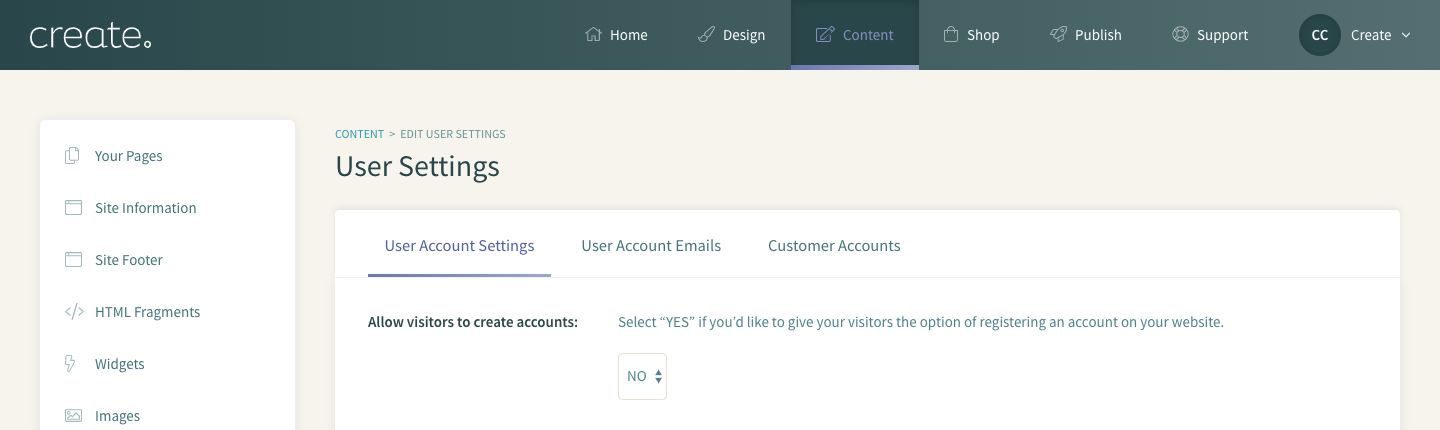
- Click Save Changes to confirm.
Manually adding users to your website
If you have not allowed registration on your website, or if you have acquired a new customer in another way, you will need to manually add them as a user.
To manually add a new user to you website, please follow the instructions below:
- Click Content from the Top Menu.
- Click Website Users from the left-hand menu.
- To add a new customer, click Add New Website User
- Add a username, password and email address for your customer.
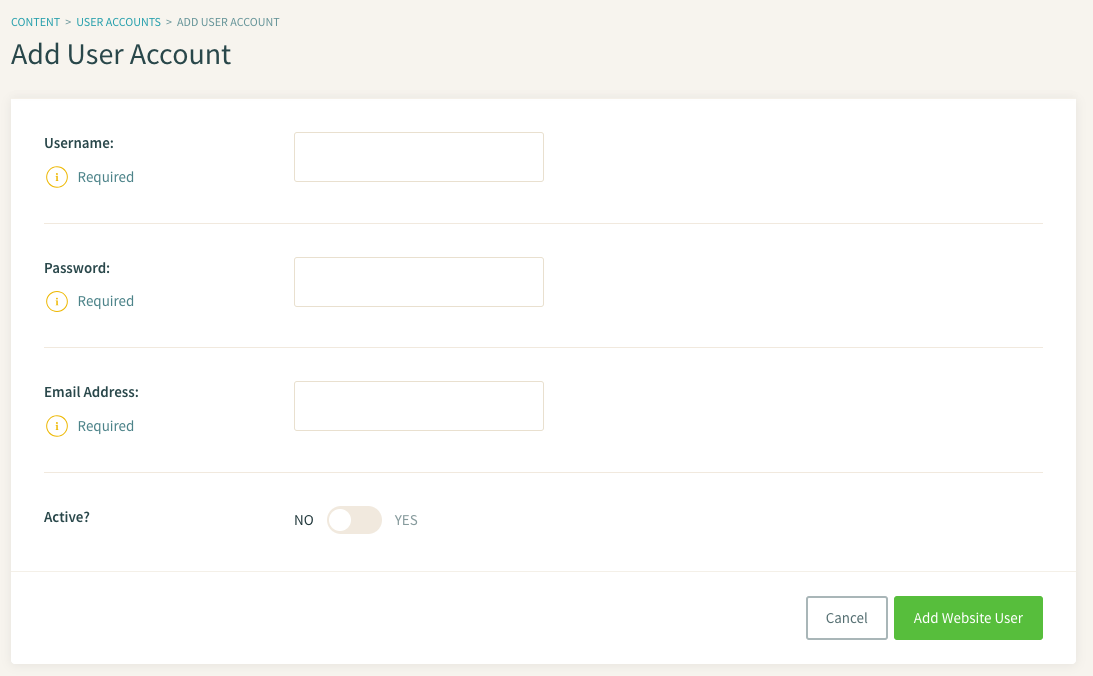
- Click Add Website User
Once you have republished your website, your new user will be able to log in with the username and password you have just set up.
Creating and managing user groups
If you want to allow some of your website's users to access one part of your website, but not others, you can restrict access on a page to certain groups only.
You can assign your website's users to groups that you set up.
You can use this to allow certain groups access certain pages of your website. Or, you can also employ groups for your own organisational purposes.
For example, you can set up a group for customers that you have collected at a trade show, and another group for customers who have signed up via your website.
To set up some user groups, please follow the steps below:
- Click Content from the Top Menu.
- Click Website Users from the left-hand menu.
- Click User Groups from the left-hand menu.
- Click Add User Group
- Enter a name for the group.
- Using the search tool under The following users are members of this group you can assign already registered customers to your new group by ticking next to their name.

- Click Add User Group to complete setting up the group.
You can also set up a "Default Group" in which newly registered users will automatically be added to. You can choose this group by following the steps below:
- Click Content from the Top Menu.
- Click Website Users from the left-hand menu.
- Click User Settings from the left-hand menu.
- Change the drop-down titled Default Group to your desired group.
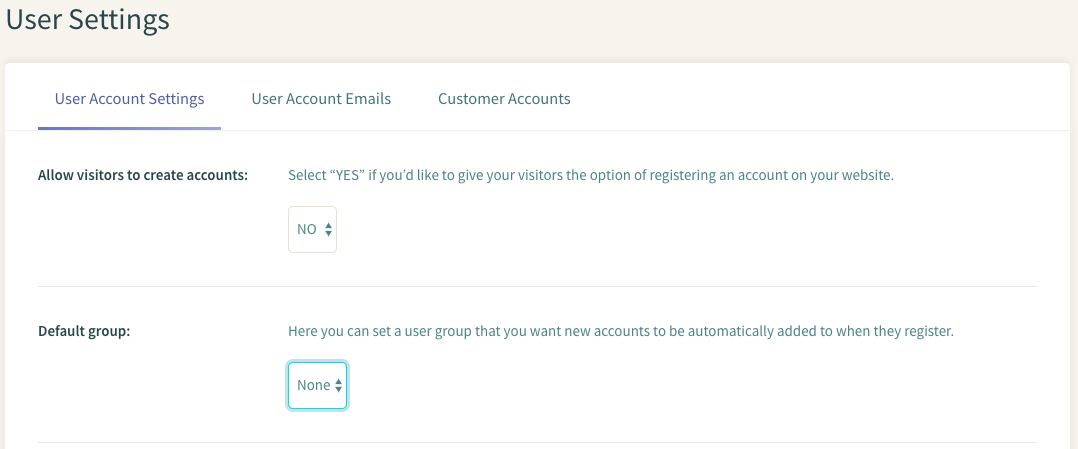
- Click Save Changes to confirm.
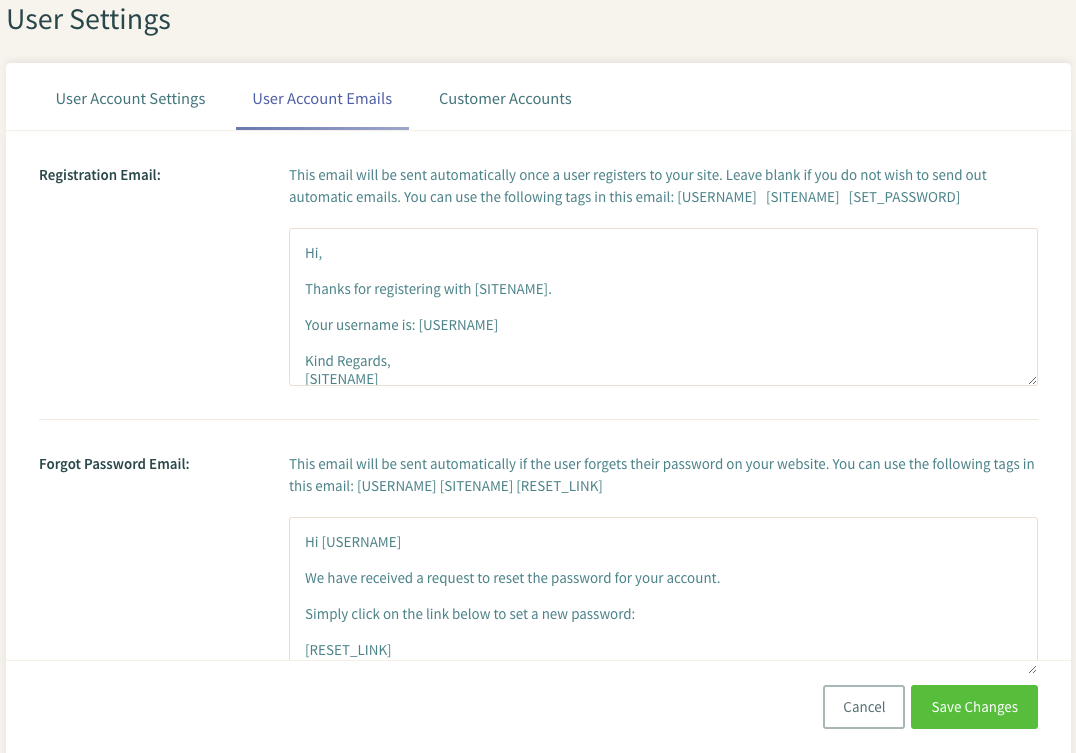
Customising the user account emails
When a customer registers to your website, an email will automatically be sent to them. They will also be sent an email with a reset link if they forget their password.
You can customise what these emails say!
To do this, please follow the instructions below:
- Click Content from the Top Menu.
- Click Website Users from the left-hand menu.
- Click User Settings from the left-hand menu.
- Click User Account Emails from the top tabs, and enter your email text.
- Click Save Changes to confirm.
Password protecting your website's pages
You can password protect pages, or sections (such as the shop), of your website.
This will mean that only your website's users (or a specific user group) can access it.
To actually password protect a section of your website, please follow the instructions below:
- Click Content from the Top Menu.
- Click Page Options next to the page, or section, you want to protect.
- Click on the tab titled Security
- Set the drop-down titled "Password Protected" to YES
- Restrict the page to any groups you have set up by checking them under the Only Allow Users From Following Groups field.
- Click Save Changes to confirm.
Using customer accounts with your shop
You have certain settings for your user accounts that are geared towards using them with your shop.
You can specify that accounts are automatically created when a customer goes through checkout, you can make it so a customer has to create an account to checkout and you can add or remove the login link on your shop pages.
To set these options up, please follow the steps below:
- Click Content from the Top Menu.
- Click Website Users from the left-hand menu.
- Click User Settings from the left-hand menu.
- Click Customer Accounts from the top tabs.
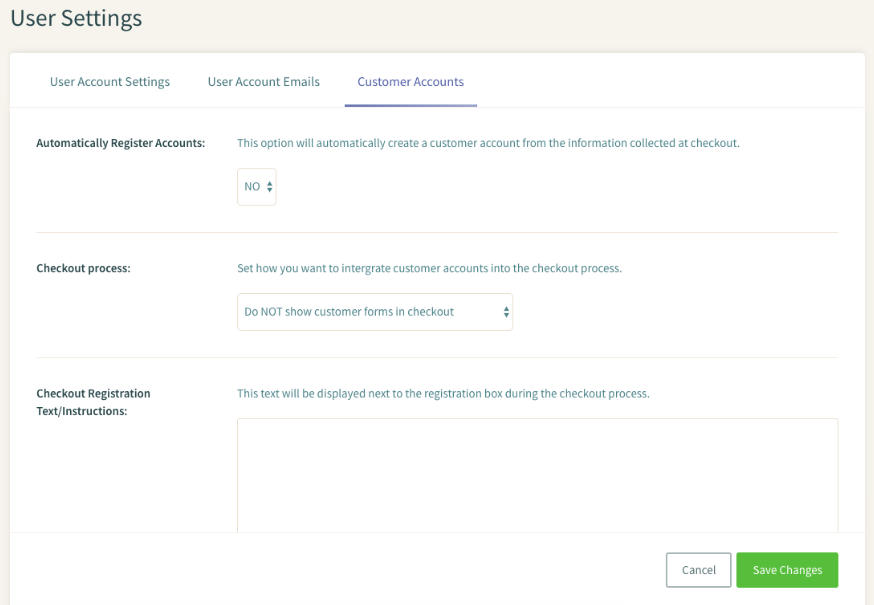
- Customise your settings as you wish and click Save Changes to confirm.
Related Articles


More Questions?
If you have any further questions, please get in touch and we will be happy to help.
Get in Touch