Help Centre
Support > Ecommerce > Categories and Products
How To Make Great Product Images For Your Website
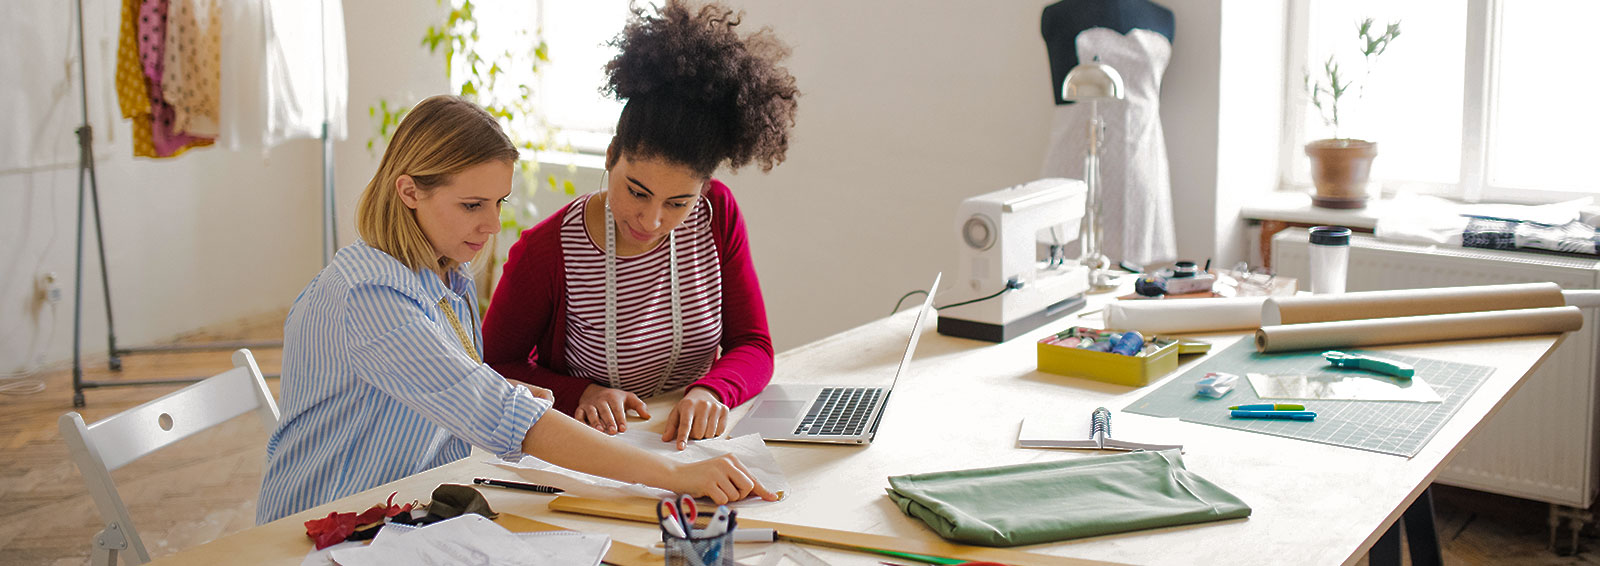
![]() When selling online, your customer cannot touch to inspect the product they are buying from you, so it's integral to show off your products with fantastic product images!
When selling online, your customer cannot touch to inspect the product they are buying from you, so it's integral to show off your products with fantastic product images!
The better your products look to potential buyers, the more confident they will feel about purchasing from you.
In this guide, we will be looking at some tips and advice on how to take and present the best product images for your website.
Getting Started
Camera
If you are taking your own product photos, it's a good idea to invest in a good quality camera. Large, sharp images will be best for showing off your products.
Lighting
You may also want to consider lighting, dark pictures appear grainy and poor quality, and camera flashes tend to ''wash out" your object, so try to light your product nicely first by using lamps or a light box. For small object two 30w bulbs should look great and for bigger items two 60w. You could try to reflect out any dark patches using a light reflecting surface.
Tip! If you can't reflect the lighting, try to diffuse it by covering your lights with greaseproof or tracing paper instead, it will give a softer finish.
Setting
 The background of your pictures can make or break your picture. Think about the tone of your website. If you have some glitzy jewellery to sell, you may wish to just consider a plain white background that shows off it's shine best.
If you are selling nice home items, it might be nice to include a picture of it dressed in context. So for example if you were selling a vase, you may include a shot of it on a table filled with some beautiful flowers. However if may still be good to include just the product on its own too, so that the customer can visualise it in their own setting.
Remember to try and keep all the backgrounds of your products consistent so that your products look uniform on your website.
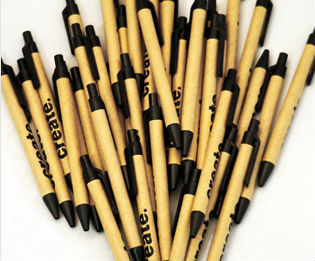
Finally, don't be afraid to get creative! If you have a small object, it might look a little lonely on its own. Why not take a picture of lots of them together for a fuller, more visually pleasing effect (Like our example picture to the right). Or why not add some creative angles, or close ups along with your main image. Anything that can make your products look prettier, will also make them more desirable to your potential buyer.
Editing your Images
Once you have taken your images, you will want to make sure they are ready for web and ready to be uploaded to your Create website. You can upload images to your Create website that are a maximum of: 2000 x 2000px but for the best results, try to upload images that are a minimum of at least 1200 x 1200 px.
It's best to resize your image on your computer before uploading it to your website to make sure it remains as sharp as possible and will speed up the uploading process to your website. It's also a good time to make sure all your images have the same aspect ratio to ensure they all look uniform. Having images that are square (so the same height as width) is probably the easiest to do, however look at your images to decide what will look best on your website.
If you don't have any image editing software on your computer, you can use this great free browser-based one called pixlr.com. As it's browser based you won't need to download anything and resizing your images is quick and easy.
To resize your images using pixlr.com, just follow these steps:
- Go to www.pixlr.com/editor
- Click "Open image from computer" and browse from your computer to open your image.
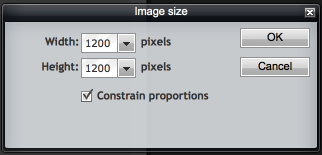
- Click "Image" from the top menu, and then click "Image Size"
- Type your new image size in pixels from the two boxes. remember you can upload up to 2000 X 2000 pixels on your products! Making sure "Constrain Proportions" is ticked here will ensure your image does not warp out of shape.
- Click "File" from the top menu, then click "Save..."
- Name your edited image something relevant, make sure the format is JPEG and click "Ok".
- Choose where you wish to save your image on your computer and click "Save".
Uploading your Images
Finally, you are ready to upload your product images to your website. Product images are available on all of our packages.
The image allowance for products on these packages are as follows:
- Shop Builder: 6 images per product
- Shop Builder Pro: 9 images per product
- Shop Builder Advanced: 12 images per product
You can find out how to upload multiple images to your Shop products here. This guide also talks you through re-ordering your images, picking your “Featured Product” image and choosing your products layout.
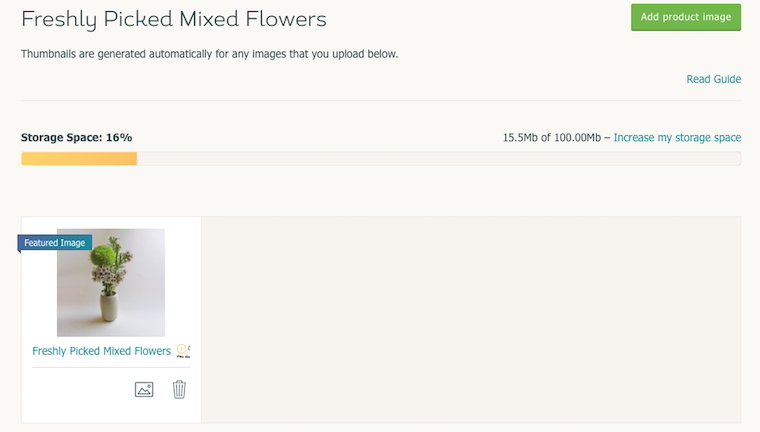
Uploading multiple product images to your product in your Create account.
Please don't forget you can get in touch with your Account Manager if you have any questions about product images!
Related Articles


More Questions?
If you have any further questions, please get in touch and we will be happy to help.
Get in Touch