Help Centre
Support > Designing and Building Your Website > The Create Manual
The Create Manual: Part 5 - Final Touches and Publishing Your Website
Well done and congratulations on building your own website!
Now that you have planned your website, added your content and (if you have one) set up your shop, you will be close to publishing your website! There are just a couple of extra steps you need to cover.
This guide will cover the following topics:
Adding Social Links to Your Website Footer
Before you publish, something you might want to add are links to your social media accounts. Create allows you to easily add social profile links to the footer of your website. This looks both professional but also serves as an easy way for customers to find and engage with your social media accounts.
To edit the footer of your website and add your social media links, navigate to:
Content (Top Menu) > Site Footer (left-hand menu).
Scroll down this screen to the ‘Your Social Profiles’ section.

Simply click on the ‘Add Profile’ option and you will be able to choose your desired Social platform to add.
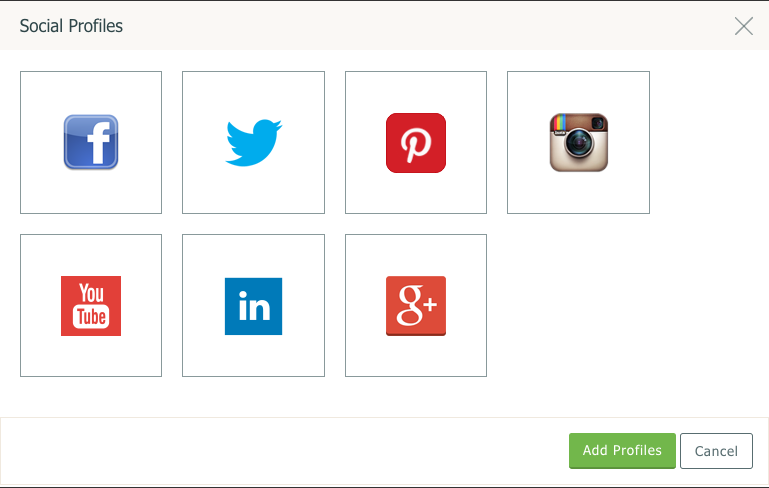
If for example we use Twitter, simply click on the Twitter icon followed by ‘Add Profiles’ and the following will appear.
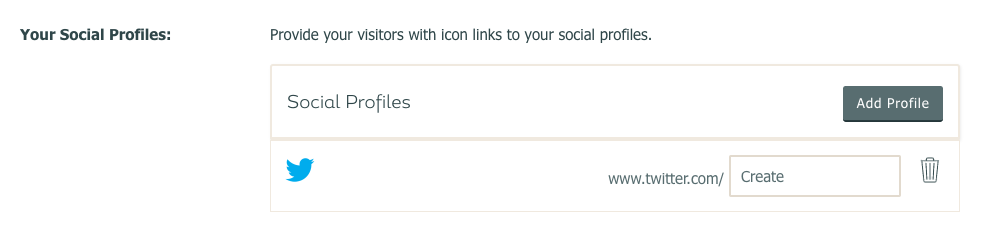
Simply add your Twitter username into the box after the URL and save.
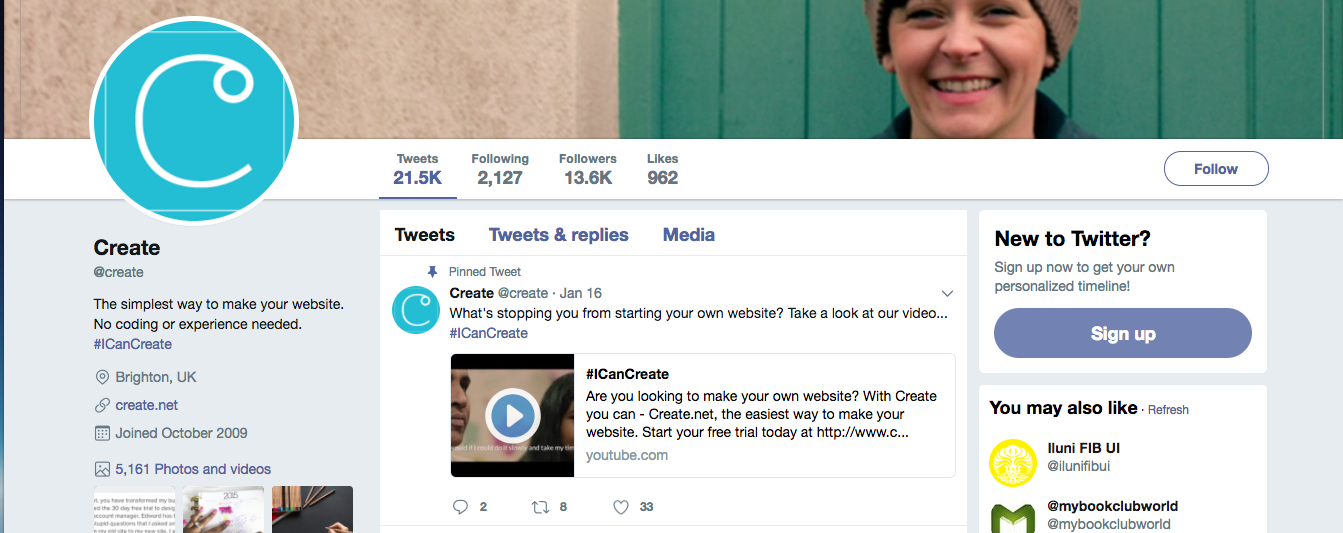
You will now have a Twitter icon at the footer of your website, when clicked it will take you right through to the Twitter account you entered.
Purchasing/Adding a domain name
Before your website can go live, you will need a domain name. A domain name is your website's unique address on the internet. It will allow visitors to search for your site and can help to boost your site in the search engines. If you do not have a domain name, you can purchase one from within your Create account before you publish your website live to the web.
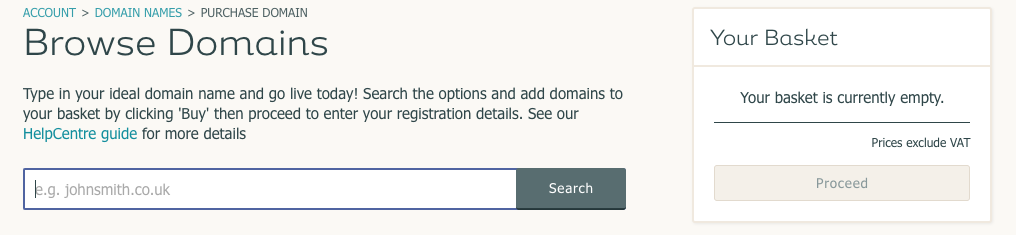
You can easily purchase a domain through Create by going to the following area of your Create account:
Account > Manage Domains and Email > Purchase New Domain
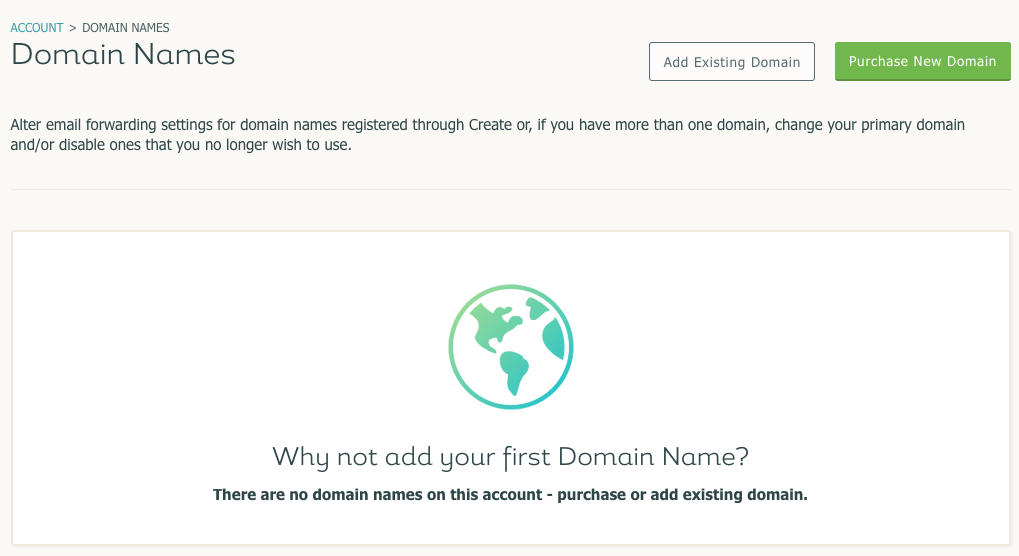
You will then be presented with a Browse Domains screen, where you can search for your choice of domain. Create will then check it’s availability for you and will also display the pricing of the domain.
When you purchase a domain name with Create, this is yours for two years. Once purchased, it will automatically be added to your account and set-up ready for you to use with your website. You’ll be able to manage your domain/s within the Manage Domain Names & Email area, including renewing the domain.
If you have already purchased your domain name from a third party, please read our guide 'How do I use my own domain name with my Create website?' This will guide you through adding the domain you already own to your Create account.
Once you’ve purchased/added a domain name to your Create account and you’re happy with the setup of your website and or shop, you can publish your website live by following the steps below:
Log in to your Create account.
Publish (from the Top Menu) > Publish to Web > Publish
After clicking ‘Publish’ your website, will be live on the internet. Please note if you have recently purchased or updated the settings on your domain your site may take up to 72 hours to appear live. If you have any questions about this or are still waiting for your site to appear live, please do contact us.

If you are still on your Create free trial at this stage, you will need to subscribe before you can go live. Don't worry, you will be prompted to subscribe/upgrade as you try to publish and you will just need to follow the steps that appear on-screen to do this.
Once your website is live, you can continue to update and change it as often as you like. Should you wish to update your site (from a text change to a whole site redesign), all you need to do is re-publish for any of your changes to go live. -
However, please note that each time you make a change to your Shop, this will go live immediately. Any changes you make to your site's design or content, however, will need to be republished to update the changes to your live website.
Optimising your website for SEO (Search Engine Optimisation)
When you publish your website live, You will need to submit it to search engines, such as Google. Having your website listed on search engines will help your potential visitors find you. To submit your site to Google, Yahoo and BIng follow these guides here:
How do I submit my site to google?
How to use Bing webmaster with your website
After your website has been submitted and the search engines are indexing your pages, it can take a while for your site to appear in relevant searches, so don’t feel disheartened if you don’t see it in search results right away.
To index well on the search engines you have to make your website favourable with them and compete with other businesses. The process of making your website rank well on the search engines is known as Search Engine Optimisation or SEO for short.
We have written some guides that explain how to boost your website’s ranking in search results and some further tips on how you can compete for a good position in them.
You can find these guides here:
How to build links for your SEO.
How to set up your Meta Information for SEO.
Monitoring Your Website Traffic
As you are working on and updating your site and selling online, you will want to monitor how well you are doing.
The are some excellent free tools you can use to report on and monitor your website’s performance. Using Google Analytics, you can see a whole host of useful information about the type of people that visit your website, as well as how they found you and much more.
Setting this up with your Create website is easy. Check out our guide, 'How to track my SEO results using Google Analytics' for more information.
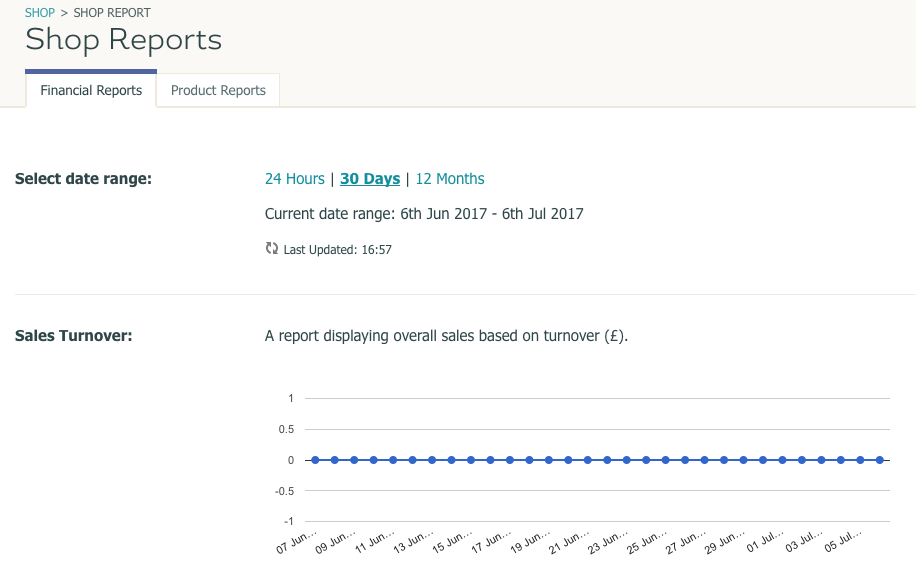
Additionally, if you are selling online and are using one of Create's Shop Builder, Shop Builder Pro and Shop Builder Advanced packages, you can further monitor your sales with our Shop Reports feature.
This feature shows you a range of information; you can specify whether you would like your reports to show you daily, monthly or yearly statistics on the following:
Your overall sales (based on turnover).
Your overall profit (based on Trade Prices).
Your orders through each individual Payment Gateway.
Your top selling products (based on quantity and value).
Your top customers (based on total orders and value).
Your percentage of cancelled and refunded sales.
Using shop reports is easy!
Simply go to your Create account, click "Shop" from the Top Menu and click "Shop Reports" from the left-hand menu. You will now be able to see all of this information at a glance!
.
Need Help?
Need help designing your website? Let us create the perfect website for you!
See more infoRelated Articles


More Questions?
If you have any further questions, please get in touch and we will be happy to help.
Get in Touch