Help Centre
Support > Designing and Building Your Website > Adding Your Content
How do I create a grid of featured products?
The Featured Products Grid widget allows you to create a responsive grid of products which can be inserted into any editable part of your Create website. The grid allows a maximum of 12 products to be displayed and each image will automatically create a link to the product page, which makes this a great tool for promoting your best products.

Creating the Featured Products Grid widget
- Go to your "Content" screen in your Create account
- Click "Widgets" in the left-hand menu
- Click "Add New Widget" on this screen
- Click the "Featured Products Grid" option to create a new widget
- You will now be provided with the setup form for this widget
- When you have finished adding your products. Click "Add Widget" to confirm.
Setting up the Widget
Title – Name your widget so that it is searchable within your account. This is only used within the Create application and not on your live website.

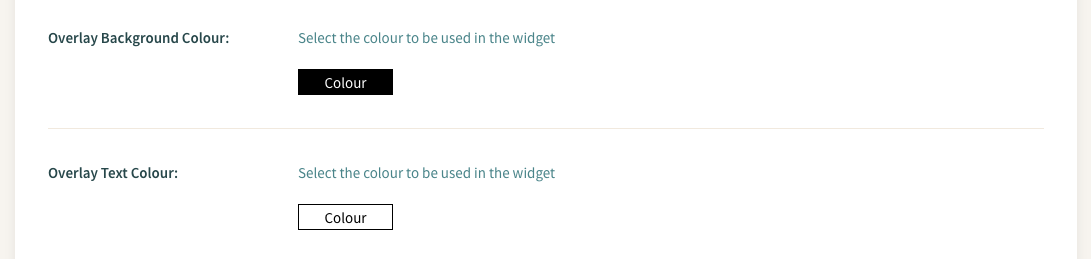
Overlay Background Colour – Select the background colour you would like the details of your product to display on when the product image is hovered.
Overlay Text Colour – Select the text colour you would like for the details of your product when the product image is hovered.
Products – Search your current products by title. Click the result in the dropdown to add it to the widget.
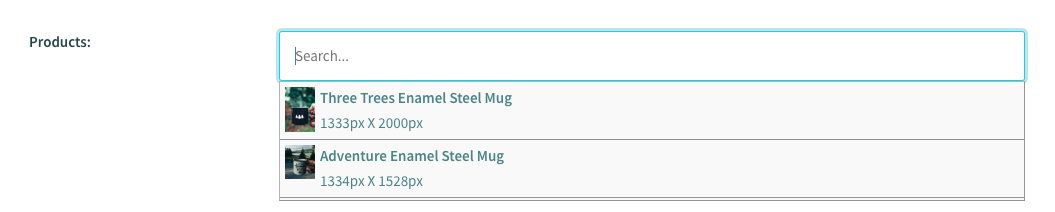
When a product has been inserted you can use the drag and drop handle to change the order they display in.
This widget can now be added to any editable part of your Create website.
To add this widget to a Content Page, you will need to use a Custom Block.
To add a custom block to your page, you can follow the below steps:
-
Click Content on the top menu
-
Click Edit This Page (the pencil icon) next to the page you would like to edit
-
Click the +Add Block button
-
From the Add Block filters, select the Custom filter in the 'Blocks that include...' category
-
You can then drag and drop the Custom content block you want to use, onto the desired place on the page.
Once the Custom block has been added to the page, you can click the + icon and use the drop-down menu to select what content you would like to add to the page.
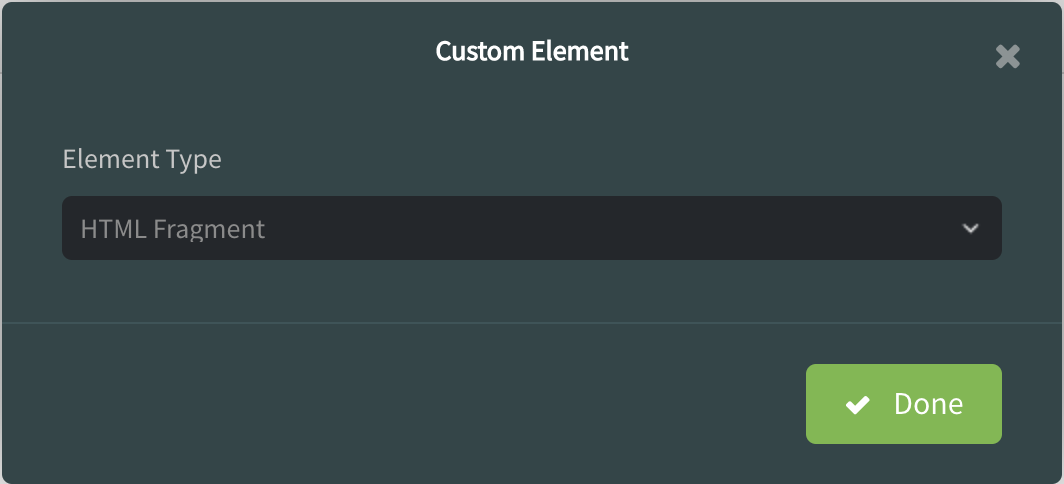
You’ll see you can select content including Widgets, HTML Fragments and Custom Forms, as well as combinations of other blocks such as Buttons, Headers, Images, Videos, Maps and Text.
A placeholder icon will be added to the page and if you click the Settings icon, you can specify exactly which widget or HTML fragment for example, you would like to use. Click Done and then save your changes.
Related Articles


More Questions?
If you have any further questions, please get in touch and we will be happy to help.
Get in Touch