Help Centre
Support > Getting Started > Designing Your Website
How To Add A Logo To Your Website
Editing the name of your website or adding a logo is a quick process with Create.
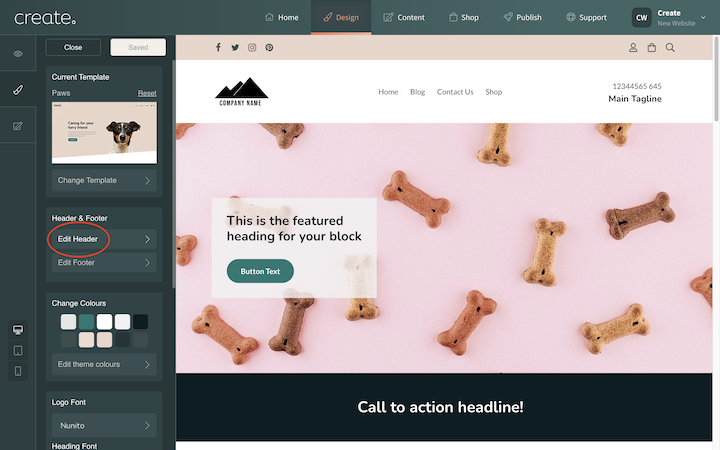
Begin by visiting the Edit Header section of the Design area, seen below, it will give you access to control your website header content and appearance.
To edit your website name or add a logo to this content, whilst in the Edit Header section of Design, if you place your mouse cursor over the website name you will see a toolbar appear with the options to Edit text logo or Switch to image logo.
![]()
![]()
Clicking Edit logo text allows you to alter the text name of your website.
Clicking the Switch to image logo icon allows you to upload your own custom logo/image to be displayed on your website. Once this option is selected, a placeholder image will appear. If you click on the Image Settings button within the toolbar, it will allow you to upload a logo from your computer, using the Image Selection option as shown in the image below:
![]()
After selecting the file on your computer and clicking Done, the image is uploaded and added to the logo location.
With the logo editor, Create can accept images with a wide range of dimensions. We would recommend that for a banner-style logo (larger logo, the width of your website), an image size of around 1000 x 200 pixels is recommended as a baseline.
Related Articles


More Questions?
If you have any further questions, please get in touch and we will be happy to help.
Get in Touch